
Note: this is not the classic ‘What is a subdomain takeover?’ post, I’m assuming everyone who reads this already has some knowledge of this kind of issues and don’t explain what a subdomain takeover is.
This post focuses on AWS subdomain takeovers and is the second part of my first post, https://godiego.tech/posts/STO-Azure/. While doing continuous recon I’ve come across some interesting domains that were vulnerable which have forced me to learn quite a bit about AWS and their different services. One interesting fact is that I felt that making a PoC for these services was harder than for those from Azure. Still, I think it is a nice learning exercise so I invite you to explore the AWS dashboard and try to make it work by yourself before reading how I did it.
The services I’ll go over were the ones I’ve come across so far. I must say that not all services are vulnerable, I just added the extra section to keep note of the behaviour and help people not waste their time. Additionally, in this post I not only detail how to make a simple PoC but also how to make a good PoC.
- AWS Elastic Beanstalk:
*.elasticbeanstalk.com. - AWS S3:
*.s3.amazonaws.com. They are possible but I don’t go over how to do it since there are already many resources for this kind of takeover online. - AWS Elastic Load Balancer and others (not possible).
AWS Elastic Beanstalk
What is it?
AWS Elastic Beanstalk is an easy-to-use service for deploying and scaling web applications and services developed with different languages on familiar servers such as Apache, Nginx, Passenger, and IIS. You can simply upload your code and Elastic Beanstalk automatically handles the deployment, from capacity provisioning, load balancing, auto-scaling to application health monitoring. At the same time, you retain full control over the AWS resources powering your application and can access the underlying resources at any time.
Quite cool, we just write the code and don’t need to worry about deploying or anything, it handles automatically spinning up the EC2 instances as processes and setting up listeners on ports that map to those processes, hence serving the content. One cool aspect that I learnt about it when making PoCs is that it’s also possible to have different app versions and these can be swapped in no time, so we can start with a simple PoC and if the newer one has some kind of error just revert it back to the working one.
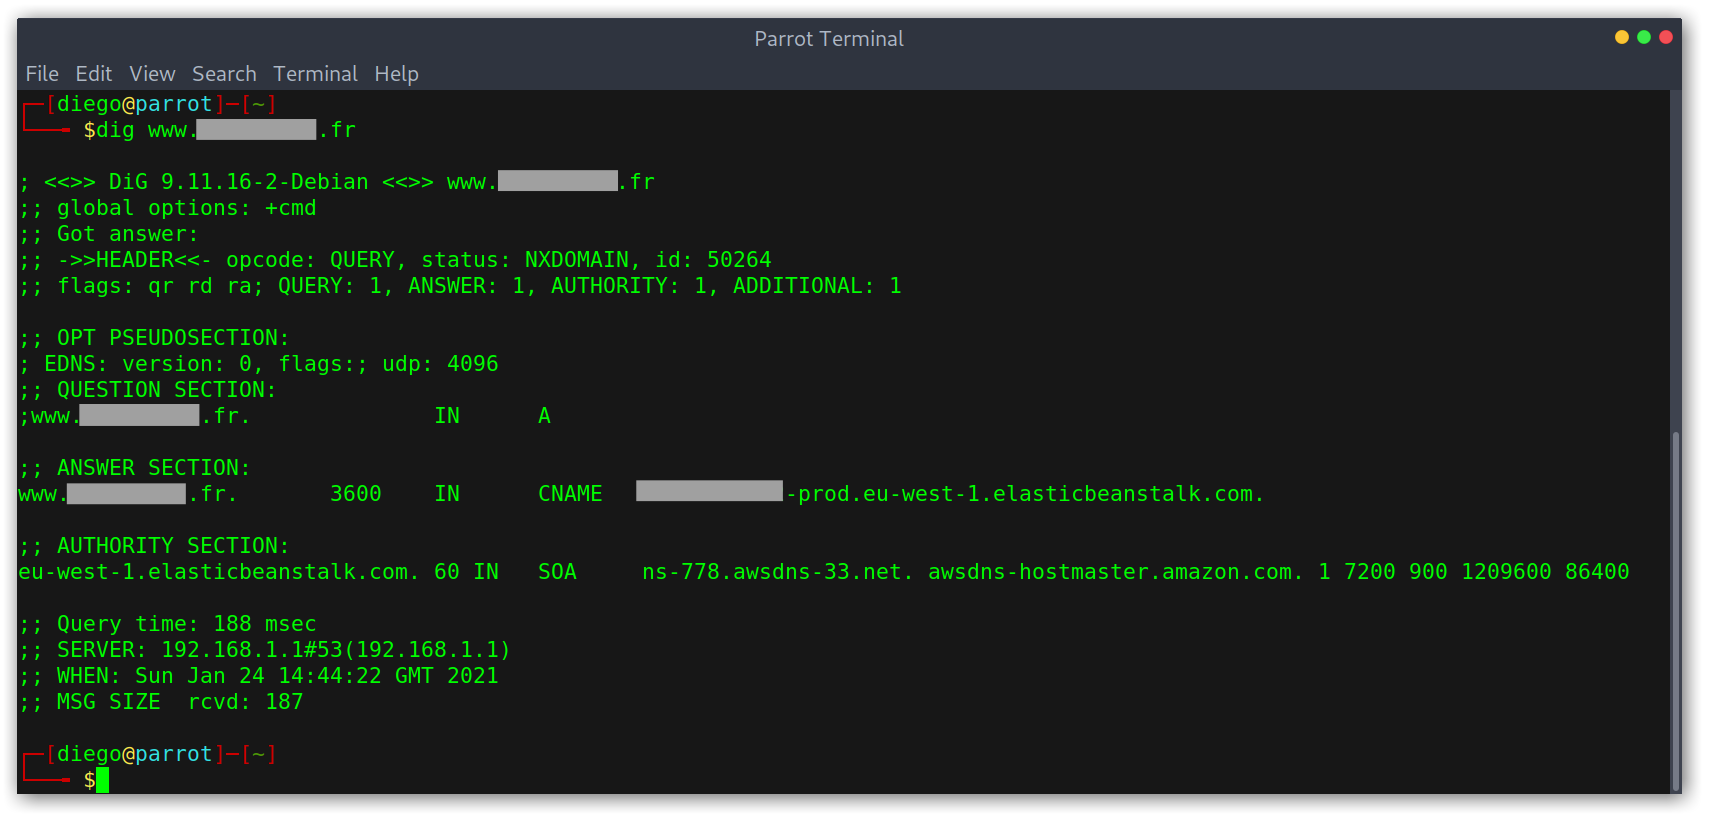
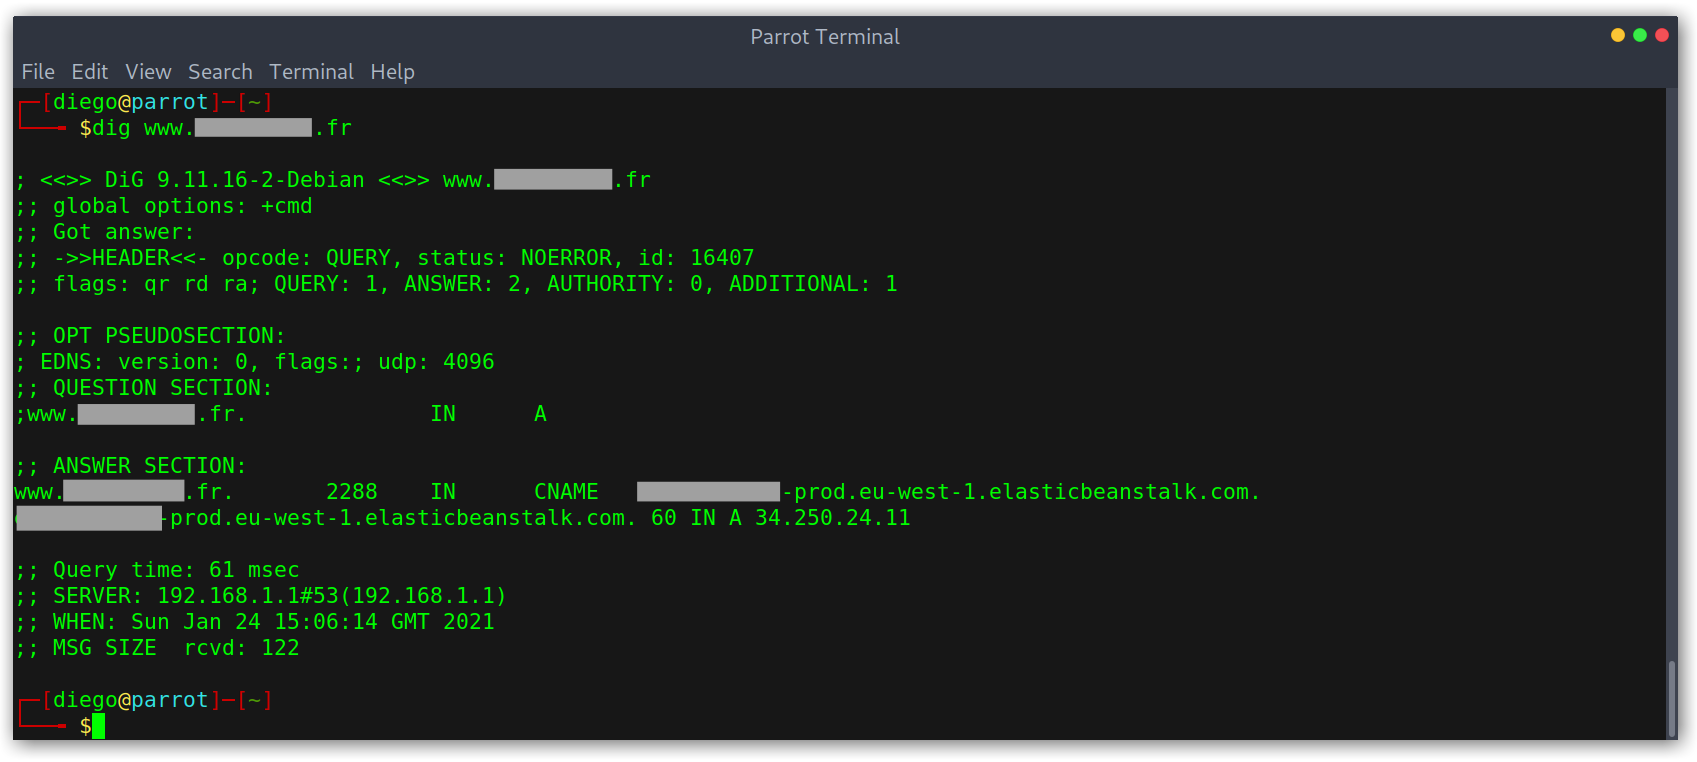
Identifying vulnerable Elastic Beanstalk domains is quite easy, we only need to check that we get a NXDOMAIN response to our query and that the pointed domain has the form <name>.<aws-region>.elasticbeanstalk.com.
Creating an application
I once found two domains from a company that were pointing to the same (vulnerable) Elastic Beanstalk environment. Great, I thought, two for one!
Dangling DNS records pointing to Elastic Beanstalk

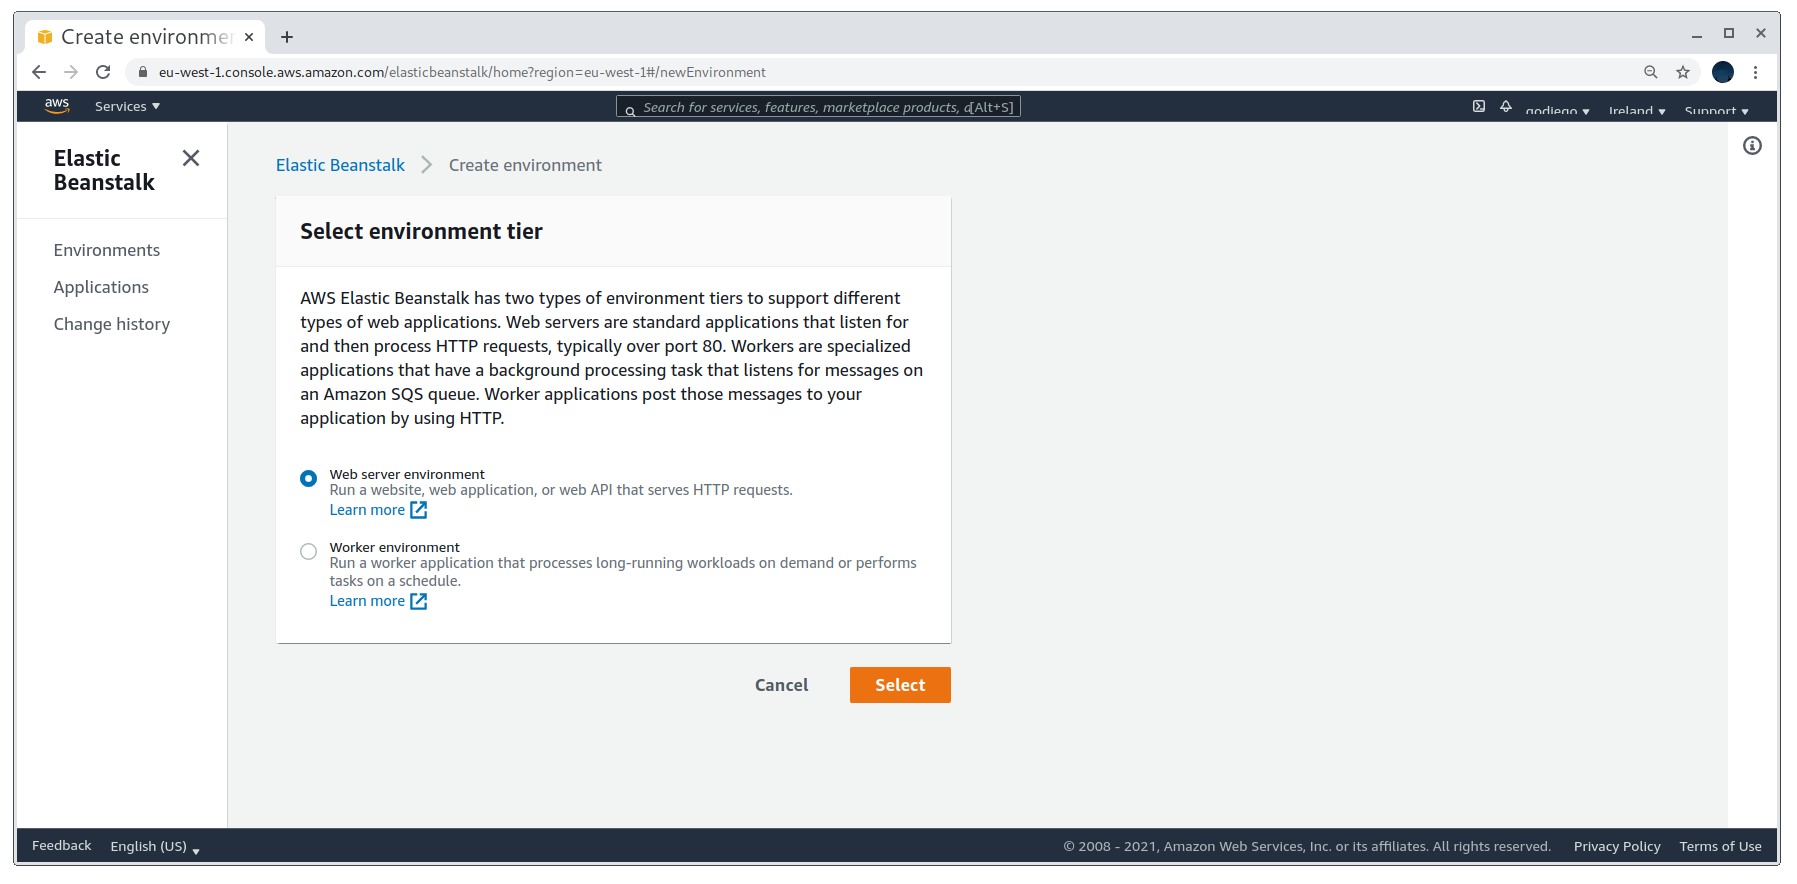
Now, to do the takeover I went over to the Amazon AWS console at the right region and started the environment creation process. There are two type of environments, we want to select the web server one.
Selecting the environment type
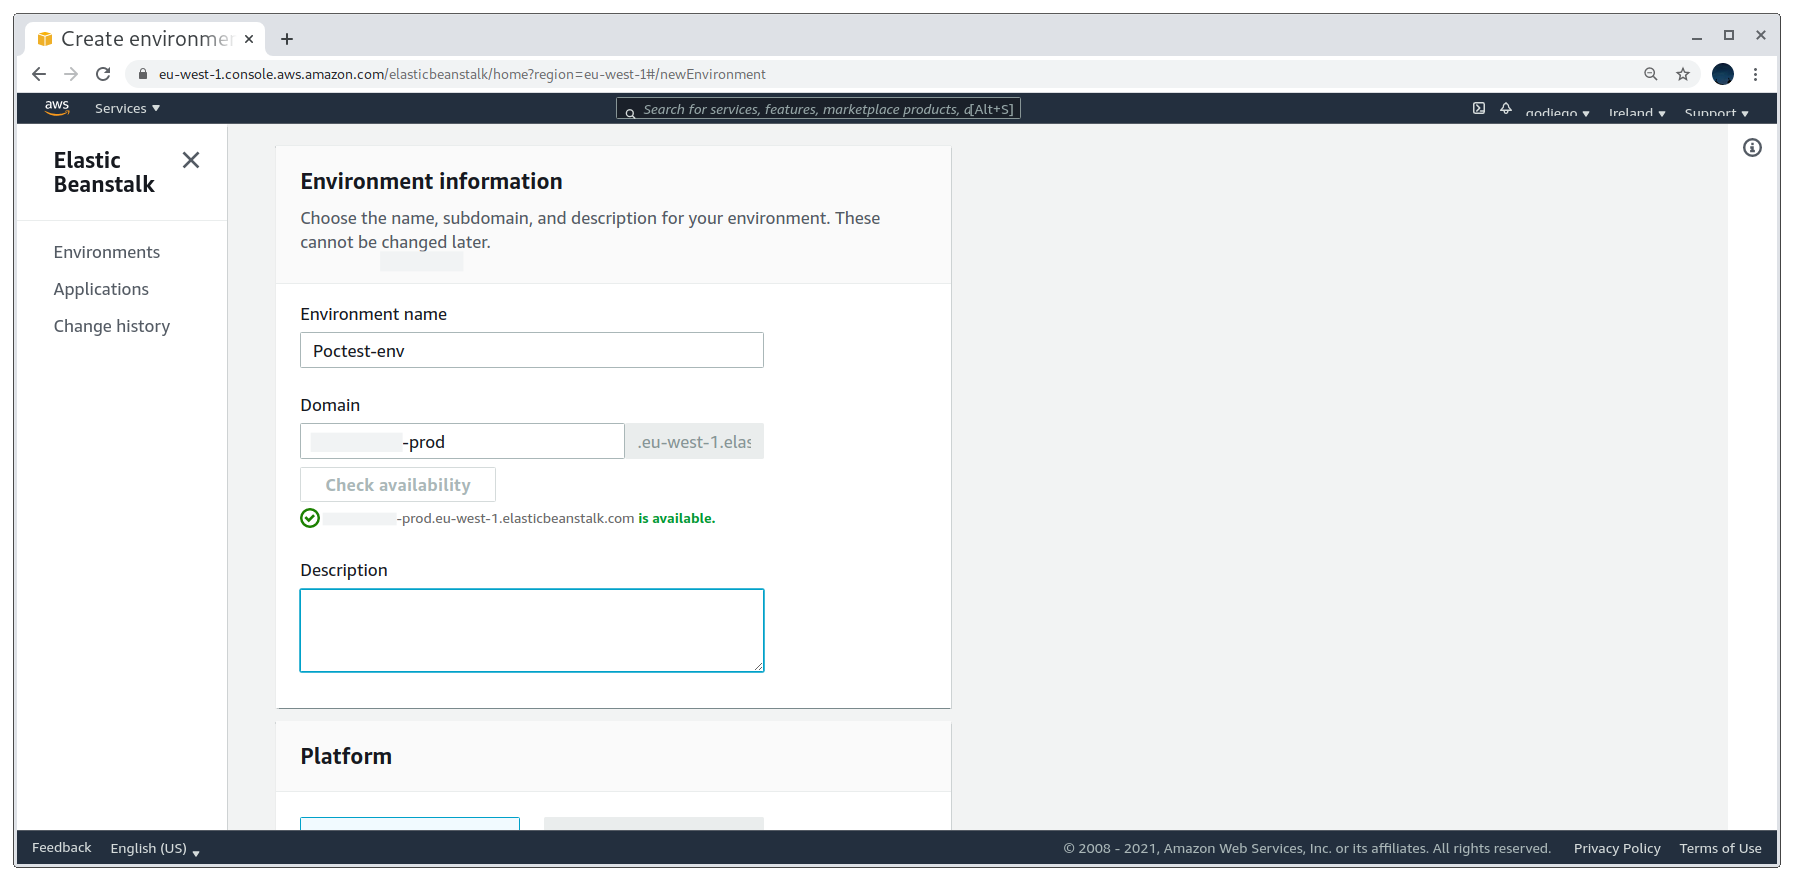
The key step to determine if the domain is vulnerable is if we are allowed to use the dangling DNS domain for our environment. If it is, bingo! The environment name is not relevant at all, so just add a dummy name.
Using the dangling DNS domain
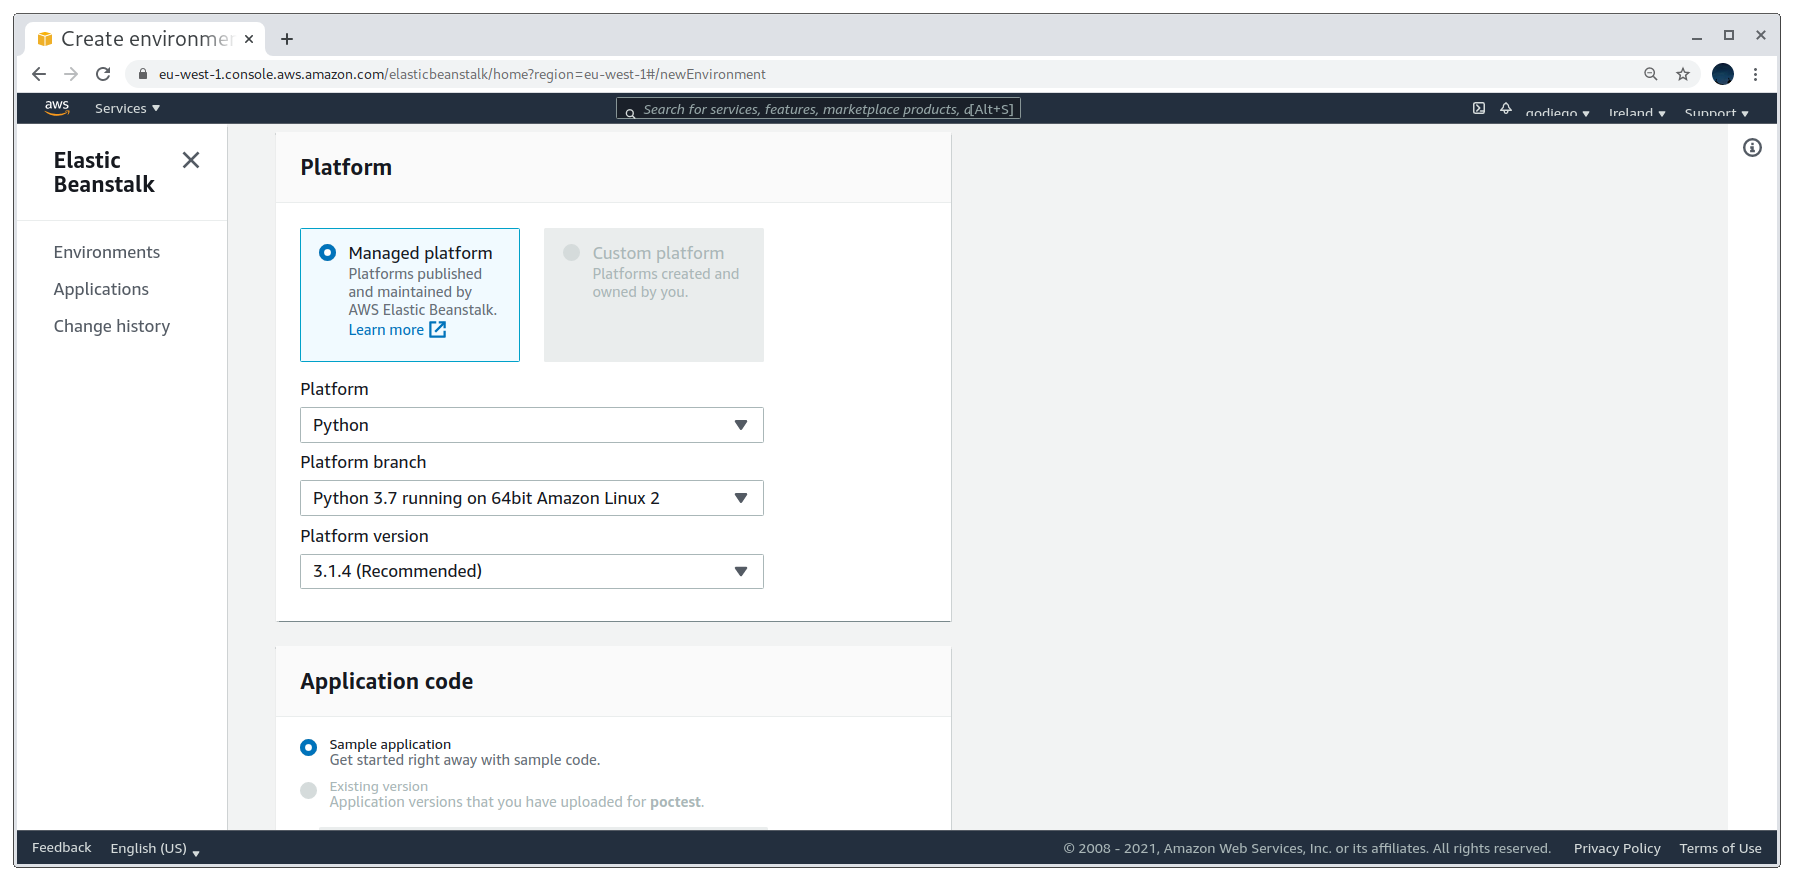
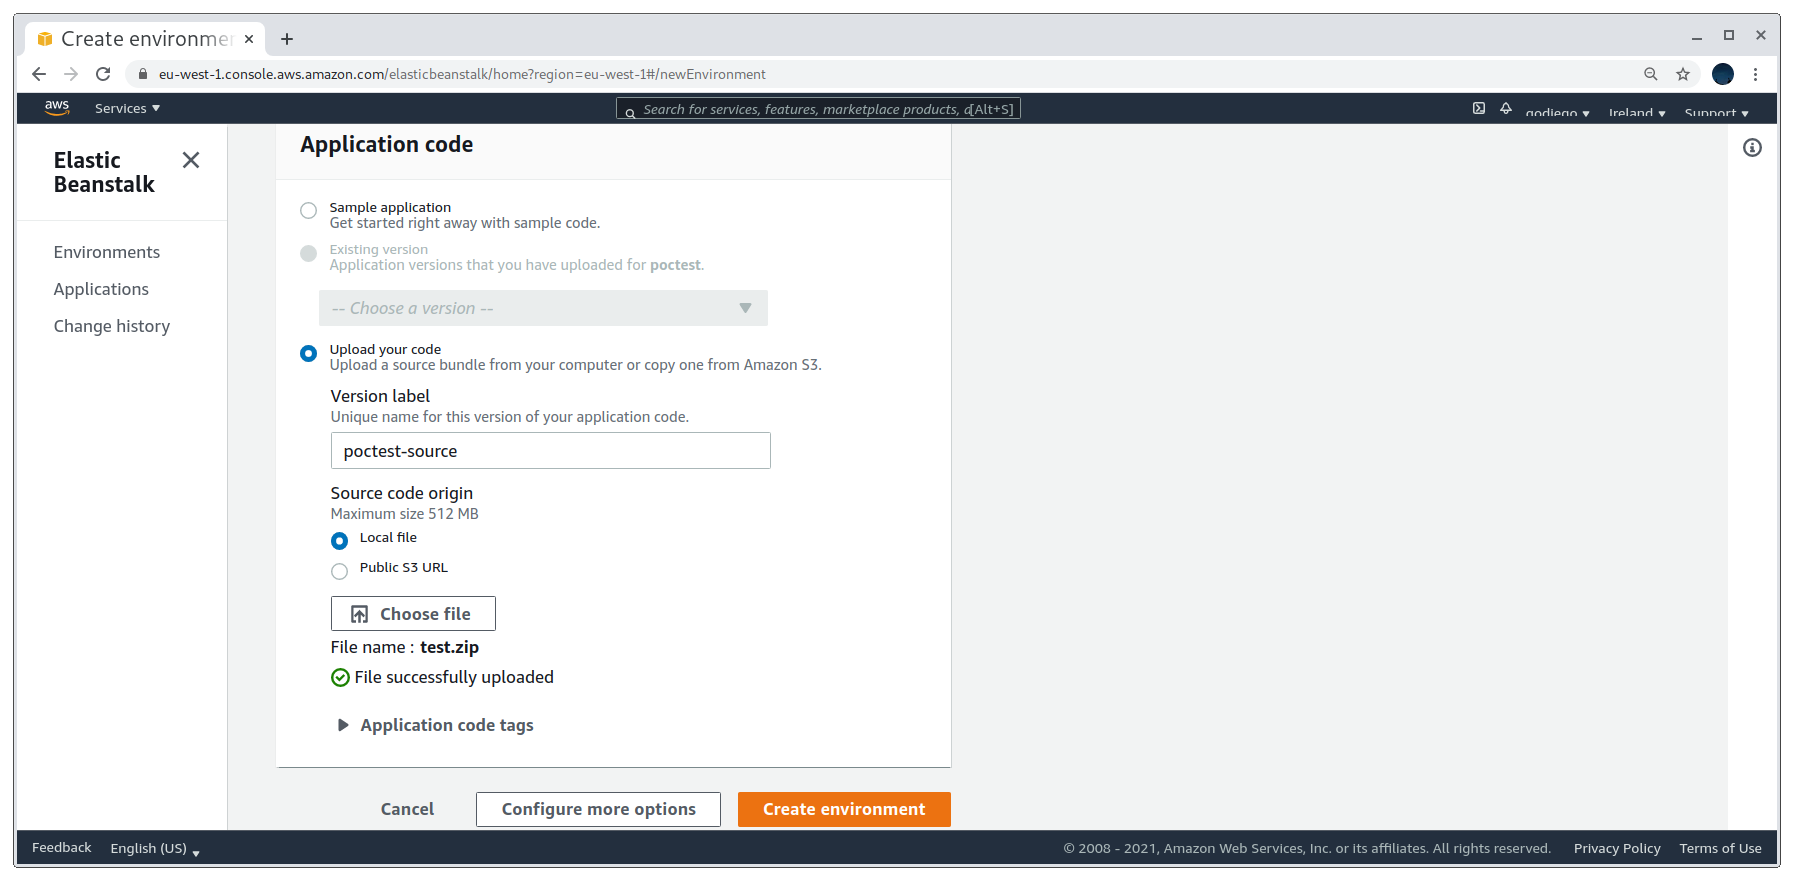
After that we are asked to select the platform stack. I selected Python because I’m more confortable with it and then uploaded my source code zip (I explain how to create this later on). It is also possible to use a public s3 bucket.
Selecting the stack and uploading source code
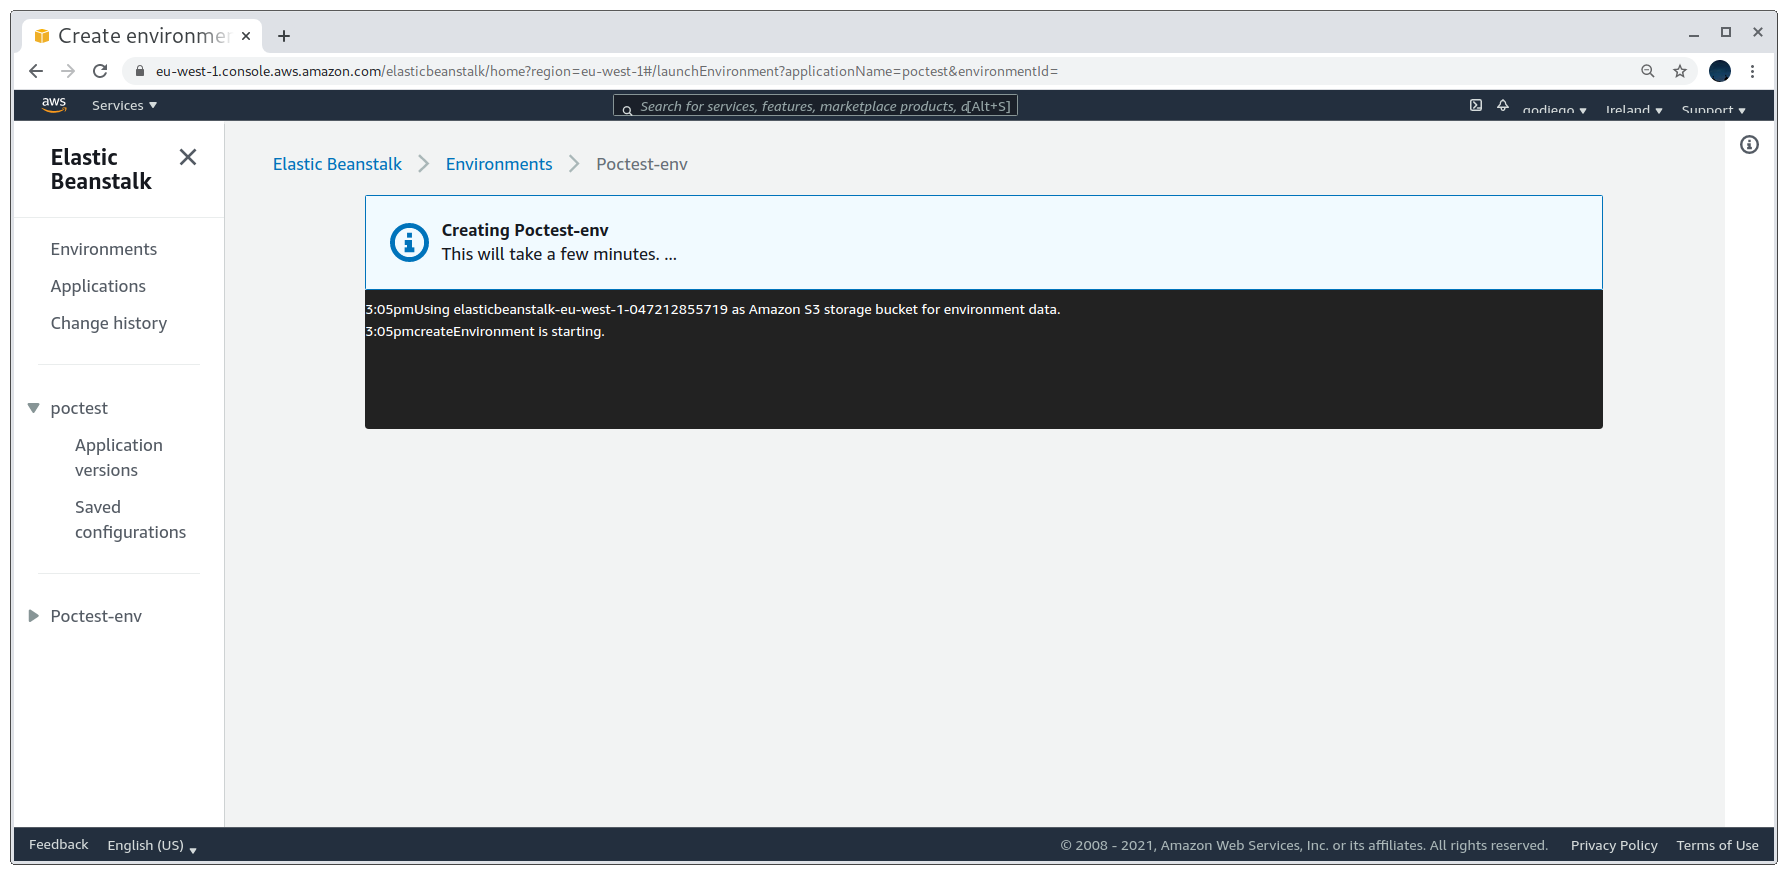
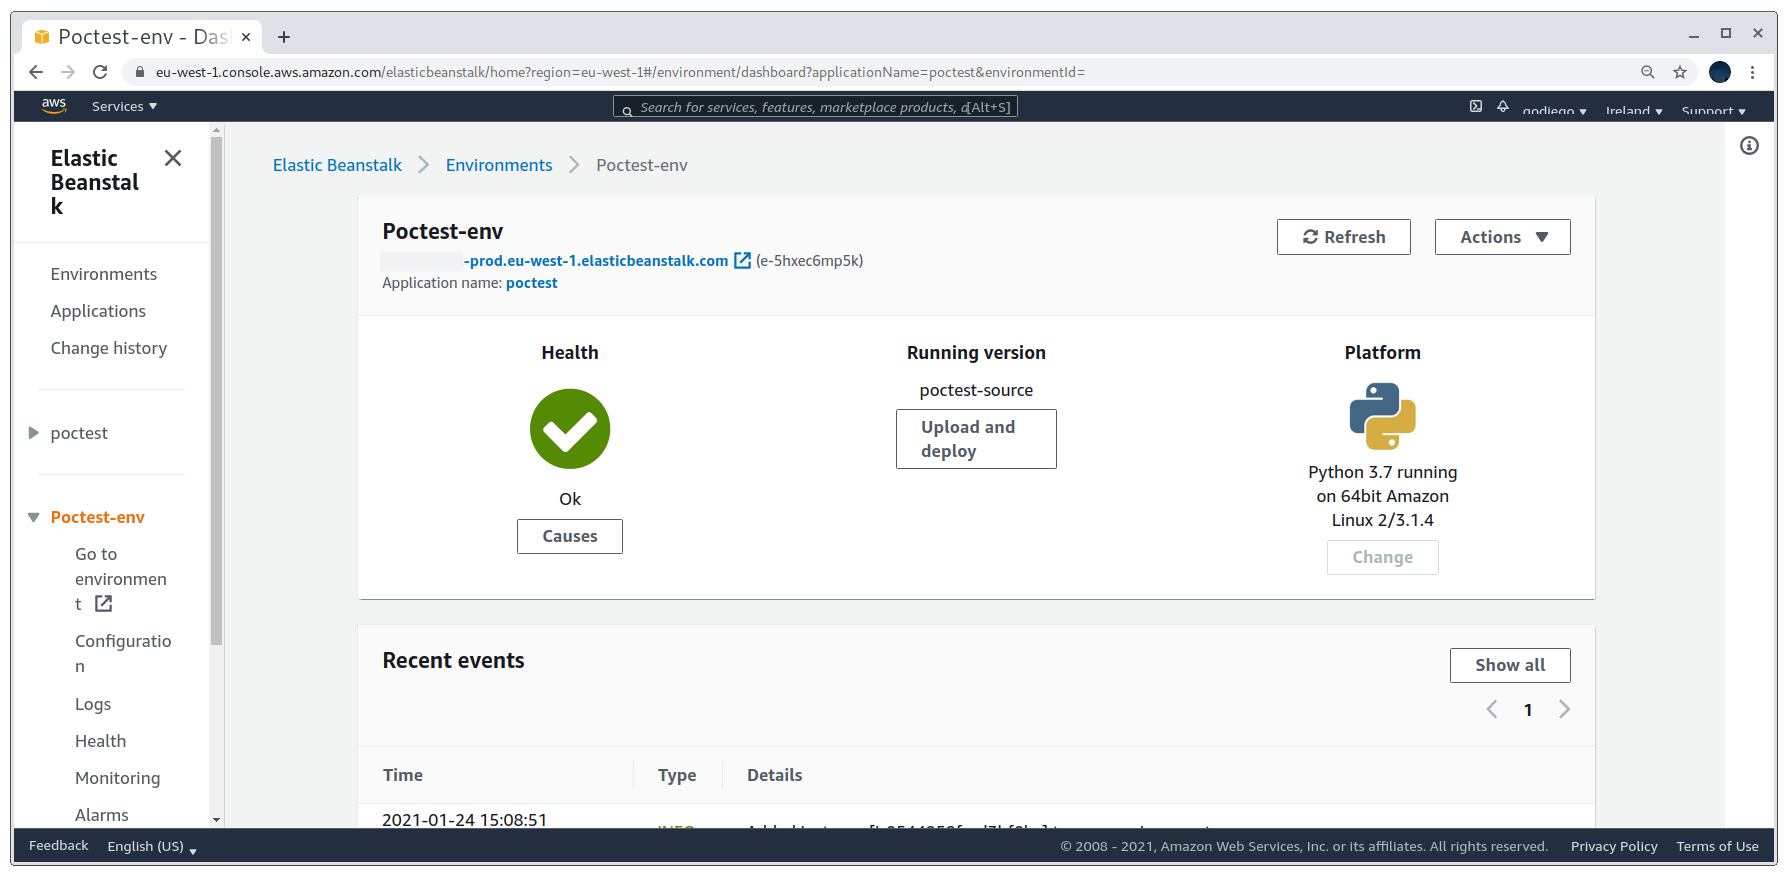
If everything goes well and there are no kind of errors in the uploaded source code, the application’s health will be an Ok.
Creating the application
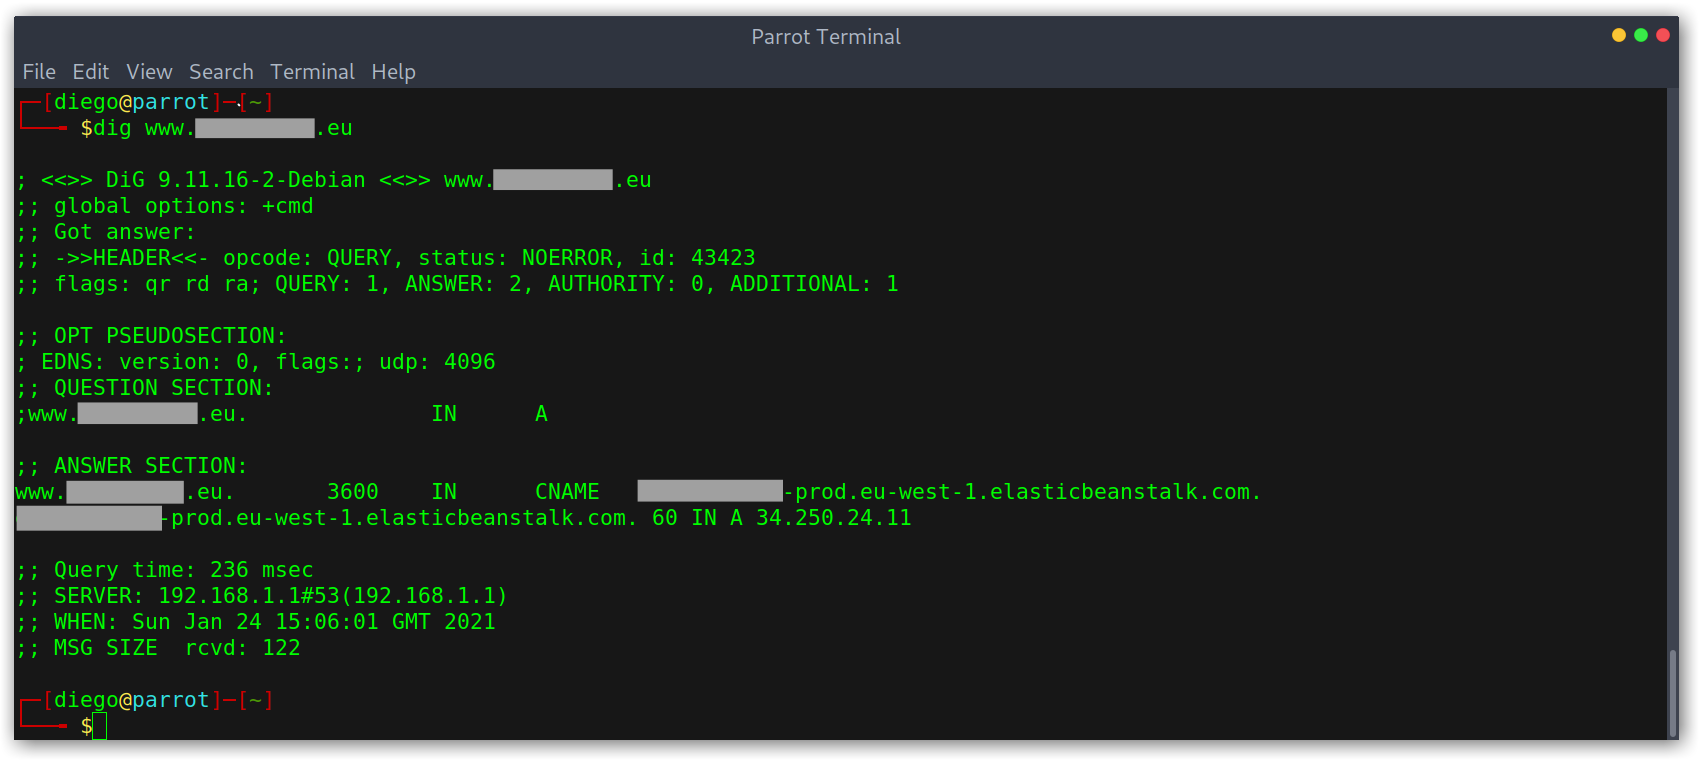
Then we can check the DNS records with dig and can see that they are now pointing to an EC2 instance ip.
DNS records after registering environment
Creating a Simple PoC
I had no idea how to get anything running, since the dashboard required a ZIP file so I went over to the documentation page and got a sample from https://docs.aws.amazon.com/elasticbeanstalk/latest/dg/tutorials.html, then tweaked it a bit to return a blank page unless we hit a specific path.
1
2
3
4
5
6
7
8
9
10
11
12
13
14
15
16
17
18
19
20
21
22
23
24
25
26
27
28
29
30
31
32
33
34
35
36
37
38
39
40
41
42
43
44
45
46
47
48
49
import logging.handlers

# Create logger
logger = logging.getLogger(__name__)
logger.setLevel(logging.INFO)

# Handler
LOG_FILE = '/tmp/sample-app.log'
handler = logging.handlers.RotatingFileHandler(LOG_FILE, maxBytes=1048576, backupCount=5)
handler.setLevel(logging.INFO)

# Formatter
formatter = logging.Formatter('%(asctime)s - %(name)s - %(levelname)s - %(message)s')

# Add Formatter to Handler
handler.setFormatter(formatter)

# add Handler to Logger
logger.addHandler(handler)

welcome = """
PoC by GoDiego
"""

def application(environ, start_response):
    path = environ['PATH_INFO']
    method = environ['REQUEST_METHOD']
    if method == 'POST':
        try:
            if path == '/':
                request_body_size = int(environ['CONTENT_LENGTH'])
                request_body = environ['wsgi.input'].read(request_body_size)
                logger.info("Received message: %s" % request_body)
            elif path == '/scheduled':
                logger.info("Received task %s scheduled at %s", environ['HTTP_X_AWS_SQSD_TASKNAME'],
                            environ['HTTP_X_AWS_SQSD_SCHEDULED_AT'])
        except (TypeError, ValueError):
            logger.warning('Error retrieving request body for async work.')
        response = ''
    else:
        if path == '/U1RPIGJ5IEdvRGllZ28K':
            response = welcome
        else:
            response = ''
        start_response("200 OK", [
        ("Content-Type", "text/html"),
        ("Content-Length", str(len(response)))
        ])
    return [bytes(response, 'utf-8')]
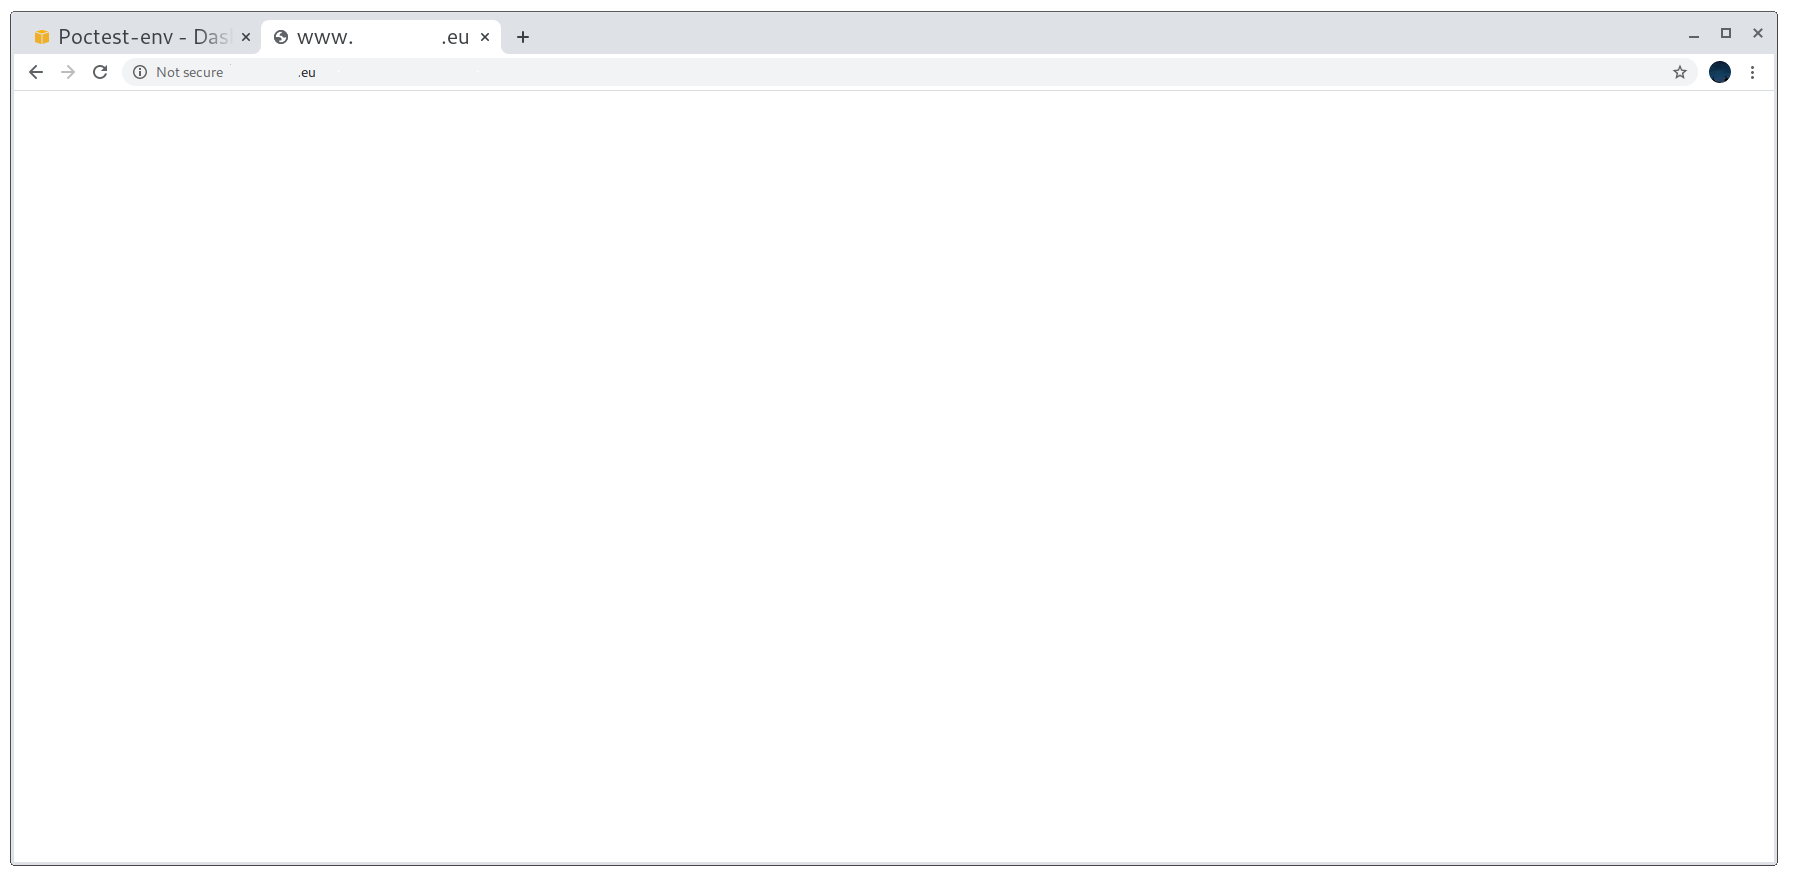
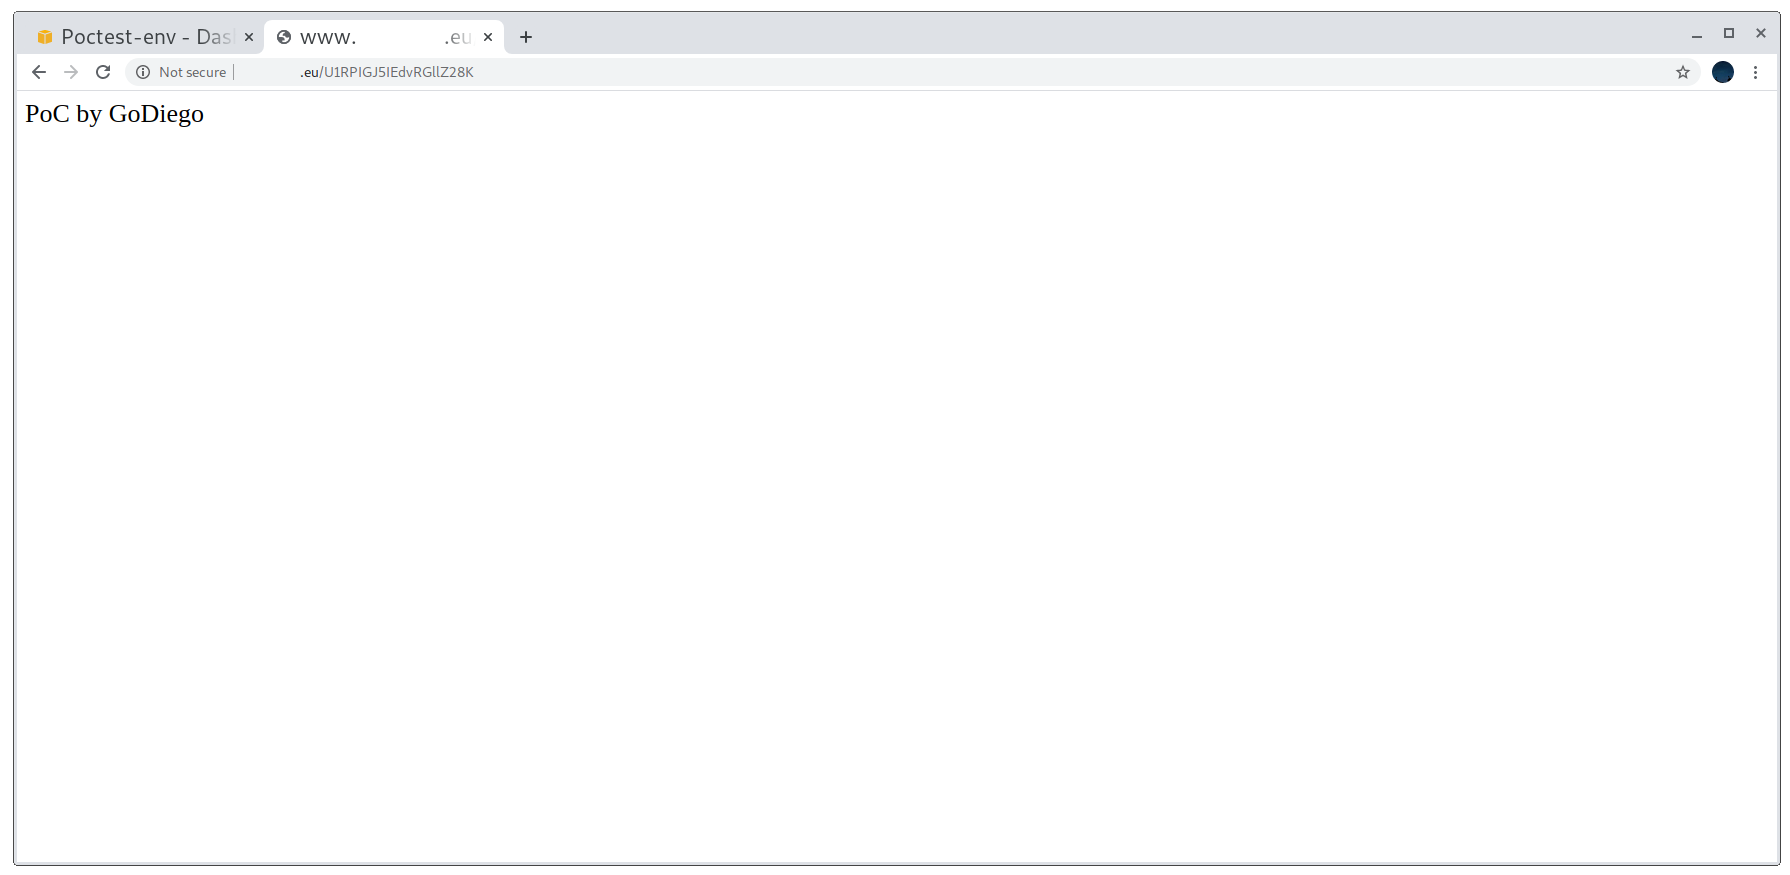
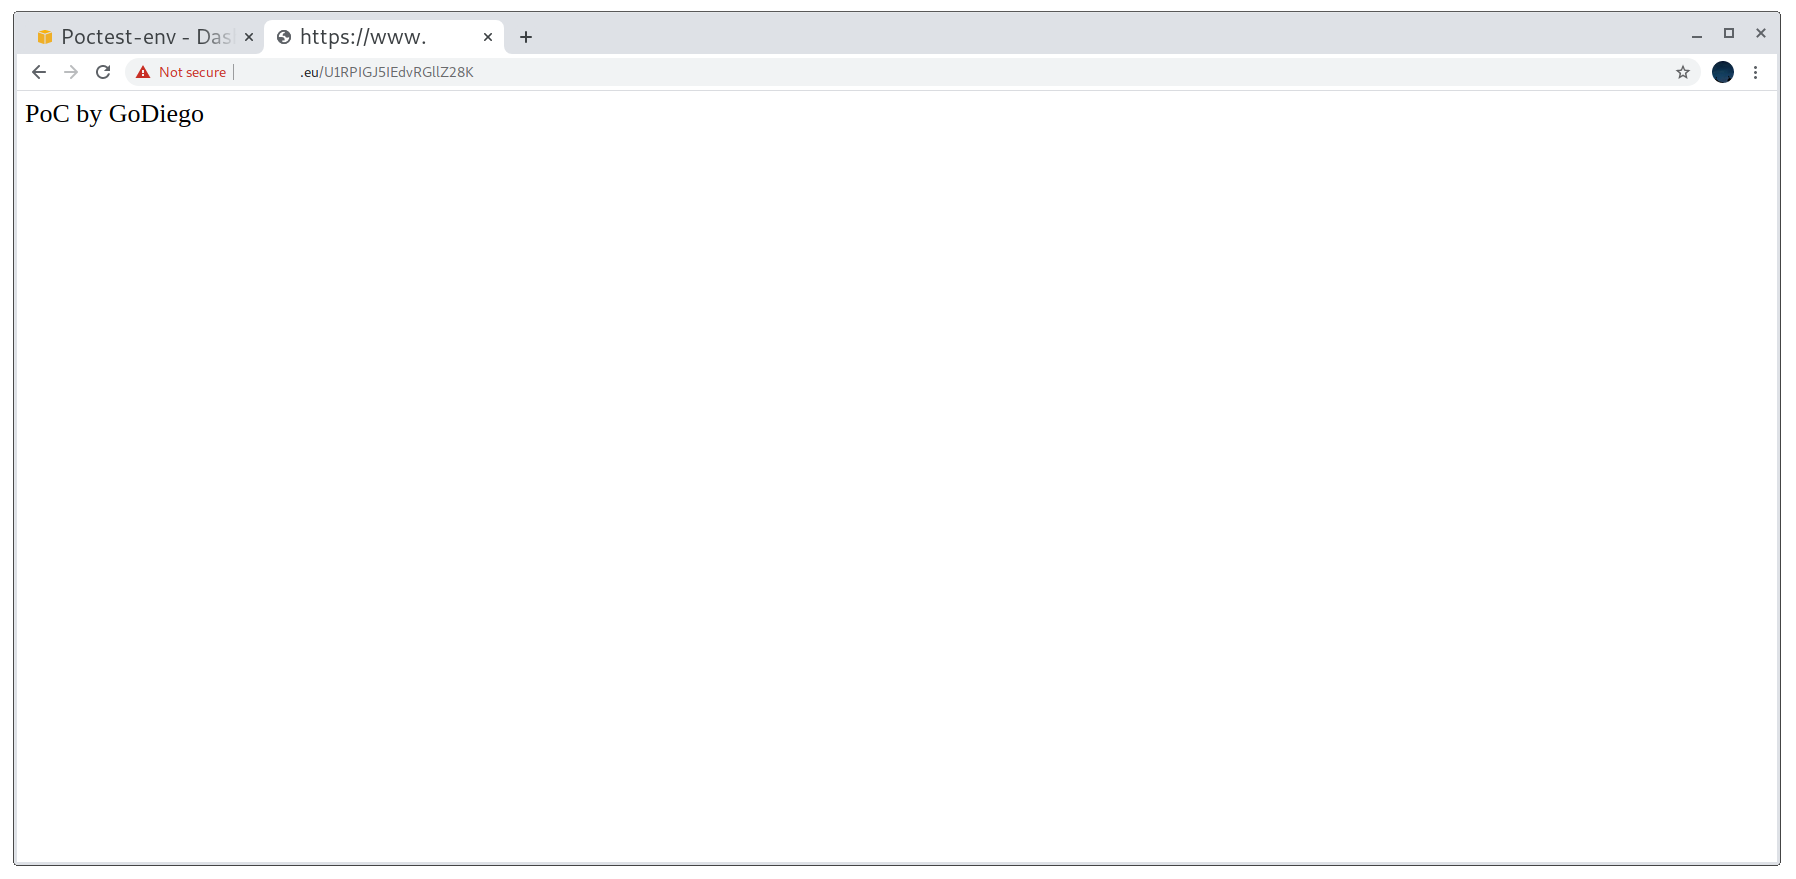
After that, I compressed it back again and uploaded it. In my case, the domain is showing no content under any path apart from the one I want to: /U1RPIGJ5IEdvRGllZ28K (STO by GoDiego in base64).
Working proof of concept
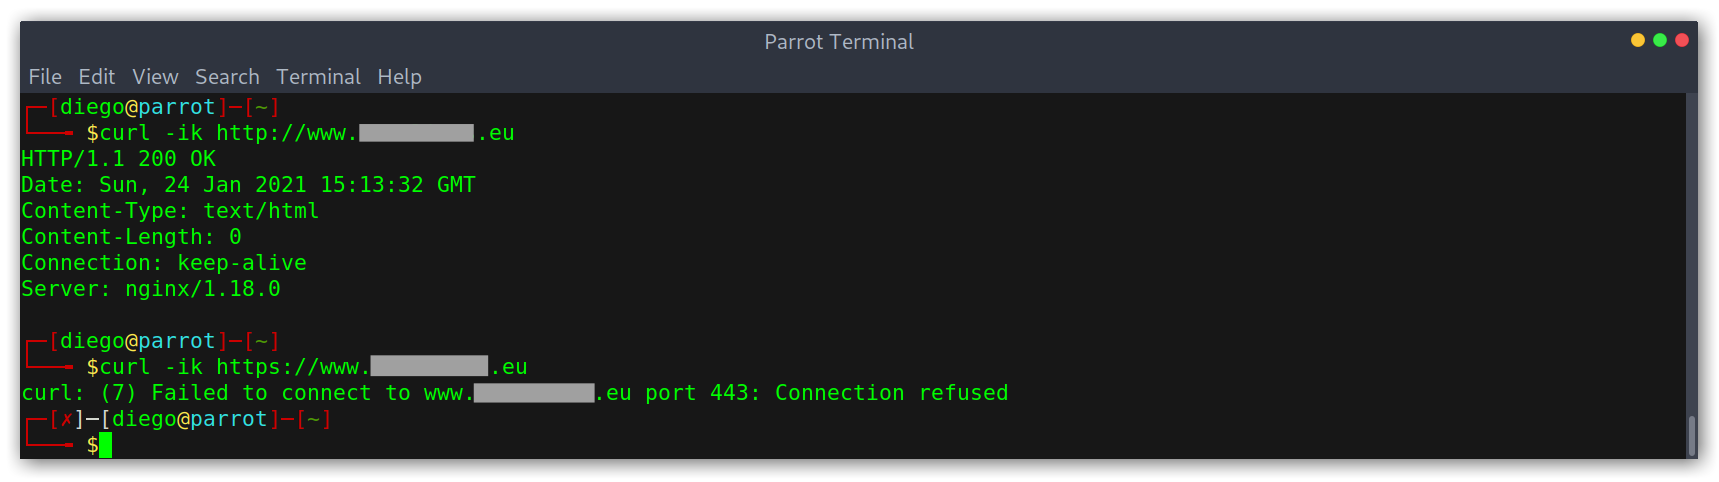
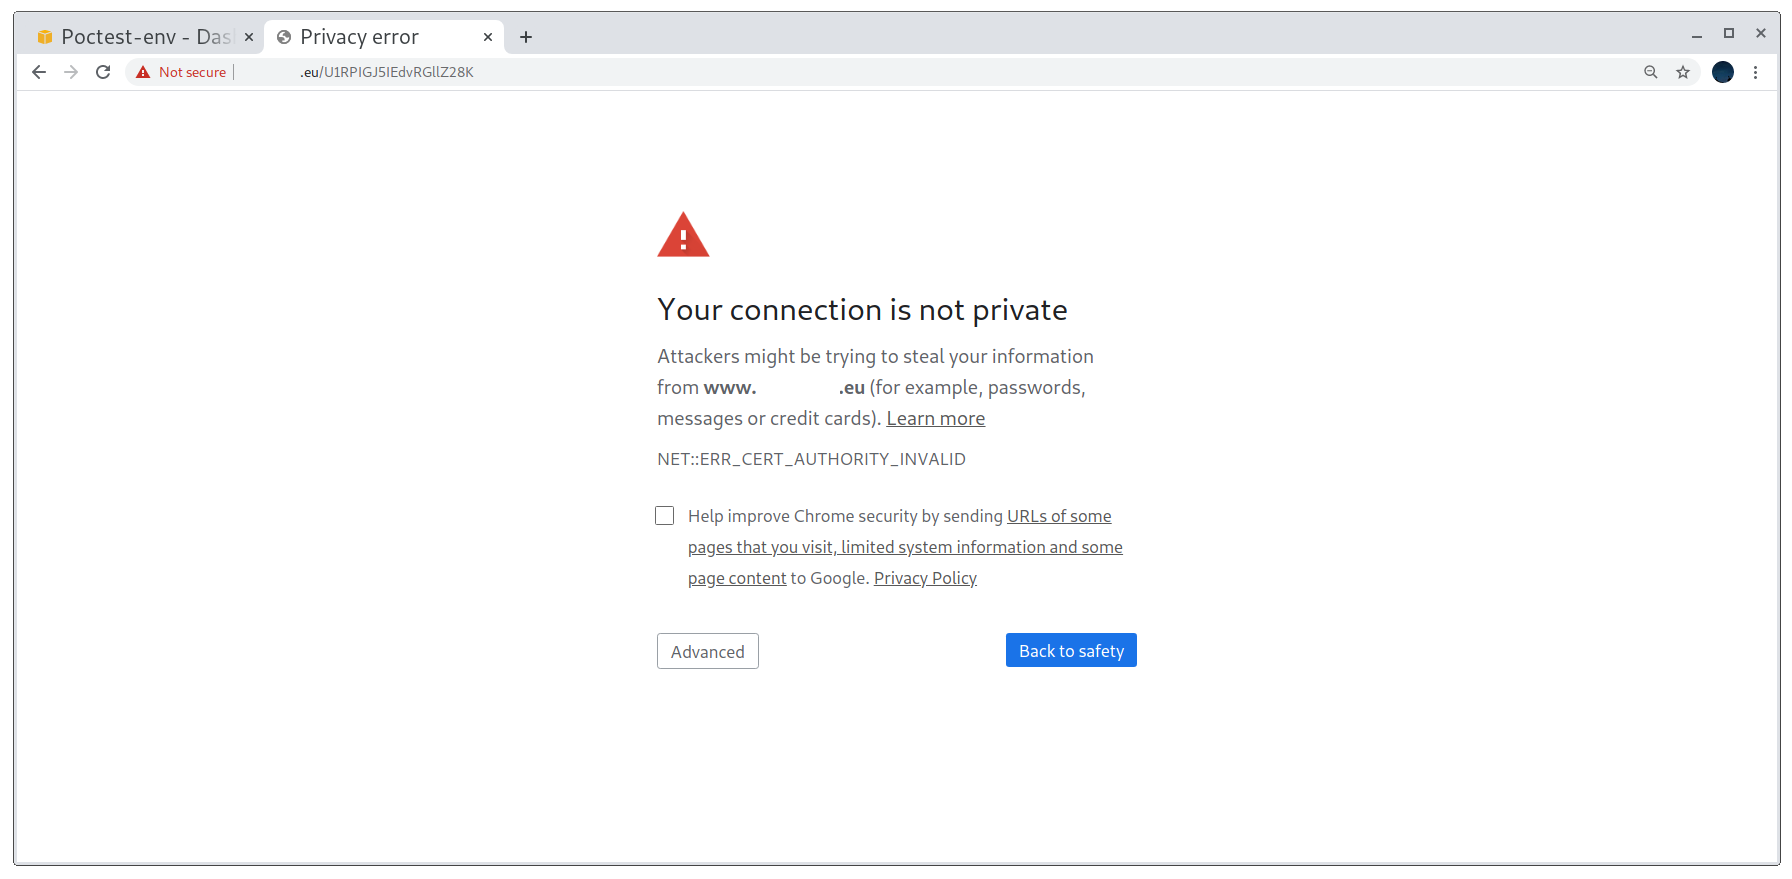
However, there is one issue with this: the PoC only working for http connections. Keeping in mind that nowadays most websites enforce the use of HTTPS, we should ideally make our PoC work with it too. It is important to note that it may be enough for a program to accept the subdomain takeover if the PoC is just on port 80, as we could argue that we don’t want to disrupt the service and that it’s better to not return anything than a blank page. However, I would advise to make it work anyways, it makes everything go faster and smoothly, nobody likes to get a More info needed on their report.
PoC not working for HTTPS connections
Creating a Good PoC
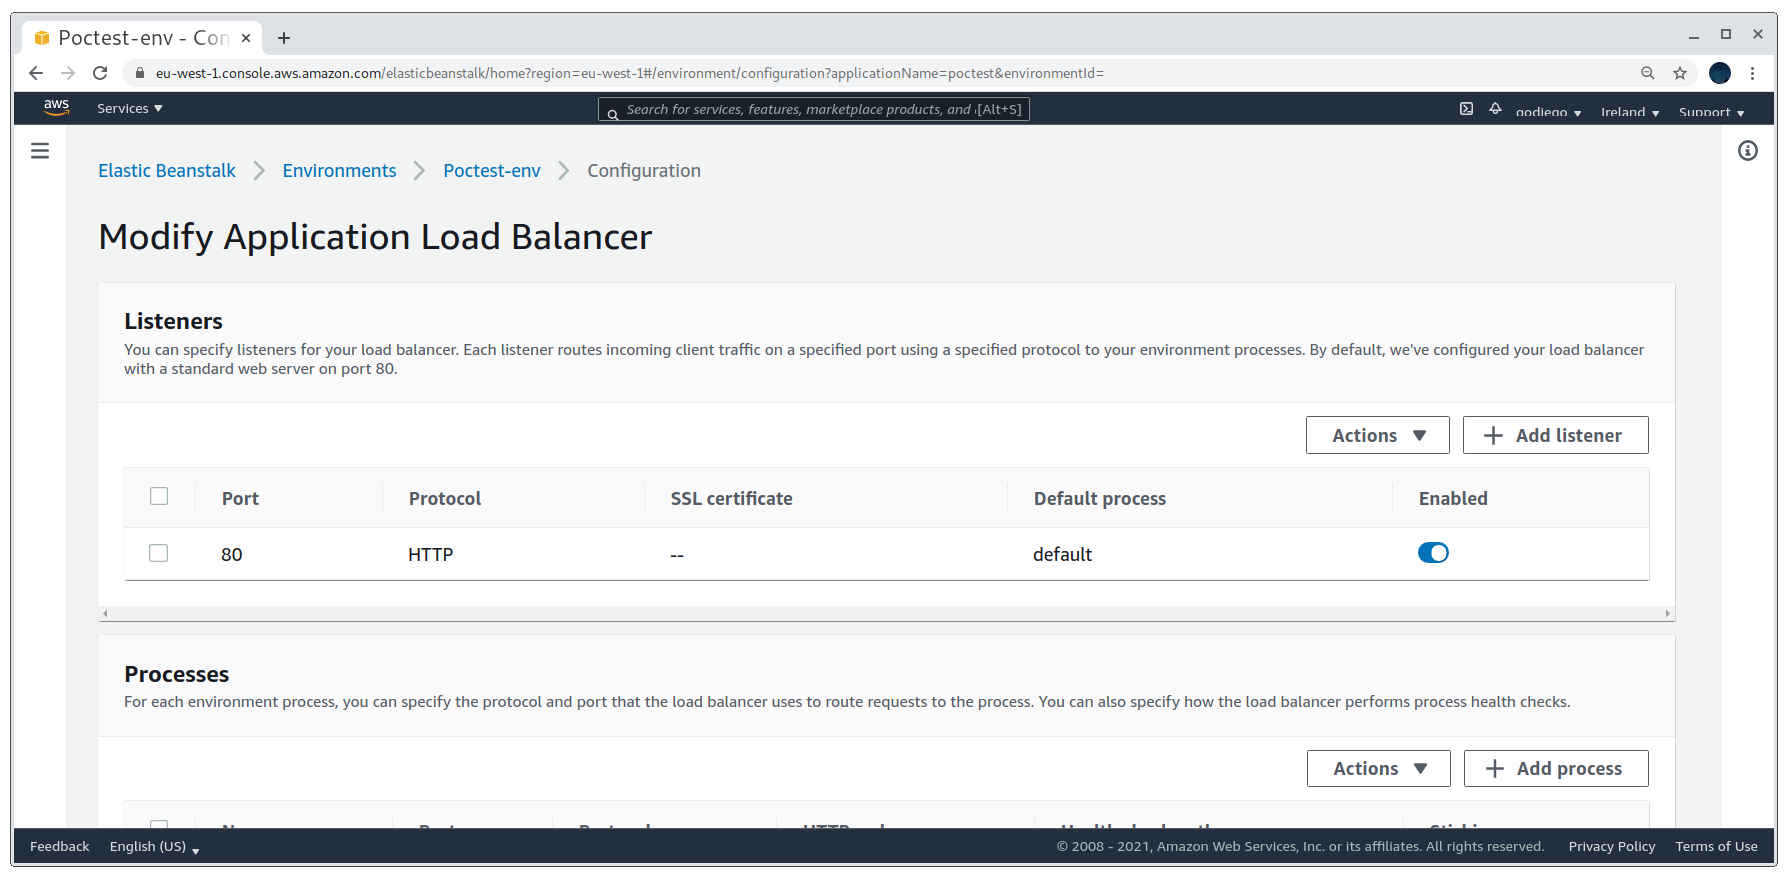
As I explained earlier on in the section, Elastic Beanstalk uses listeners that map ports to processes. In our PoC so far we’ve only added one listener on port 80 that maps to the default process (the web server) via HTTP. Hence, to make HTTPS work we will need to create another listener and another process. To do so we’ll edit the environment configuration:
Environment listeners configuration
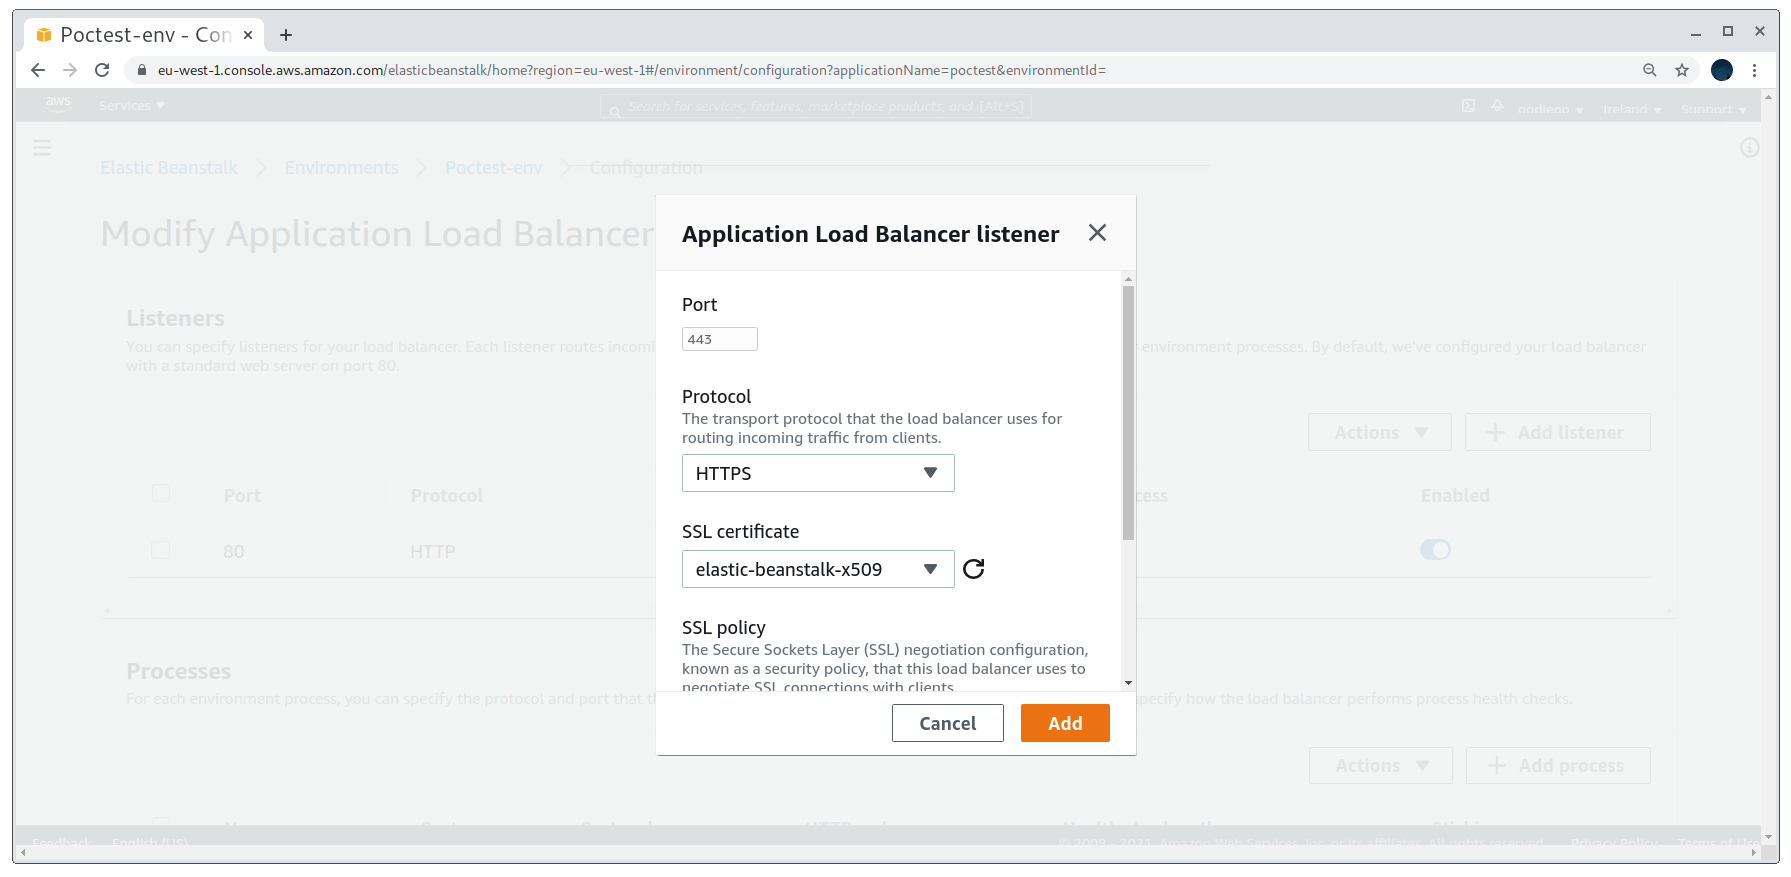
We’ll need to add a load balancer listener on port 443 with an SSL certificate for it to work. Creating a self-signed SSL certificate is the easiest and quickest option. Once that is done we’ll select it and create the listener.
Creating the HTTPS listener on port 443
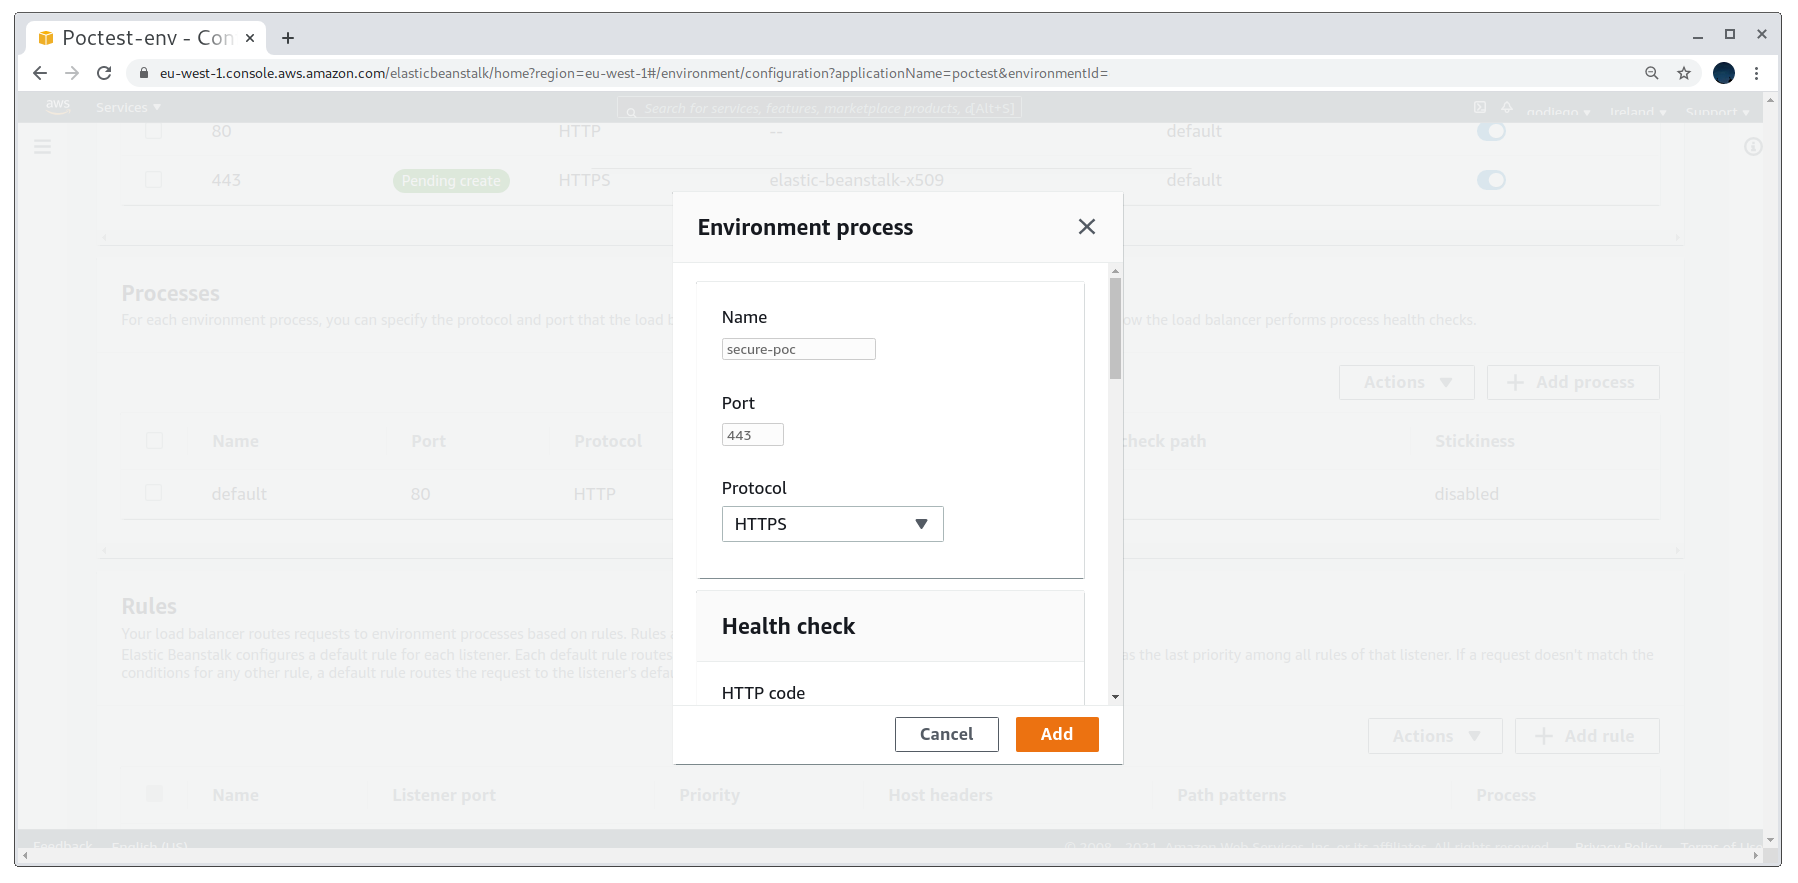
Finally, we’ll add the process and see how the PoC now works for HTTPS:
Creating the web server process for HTTPS connections
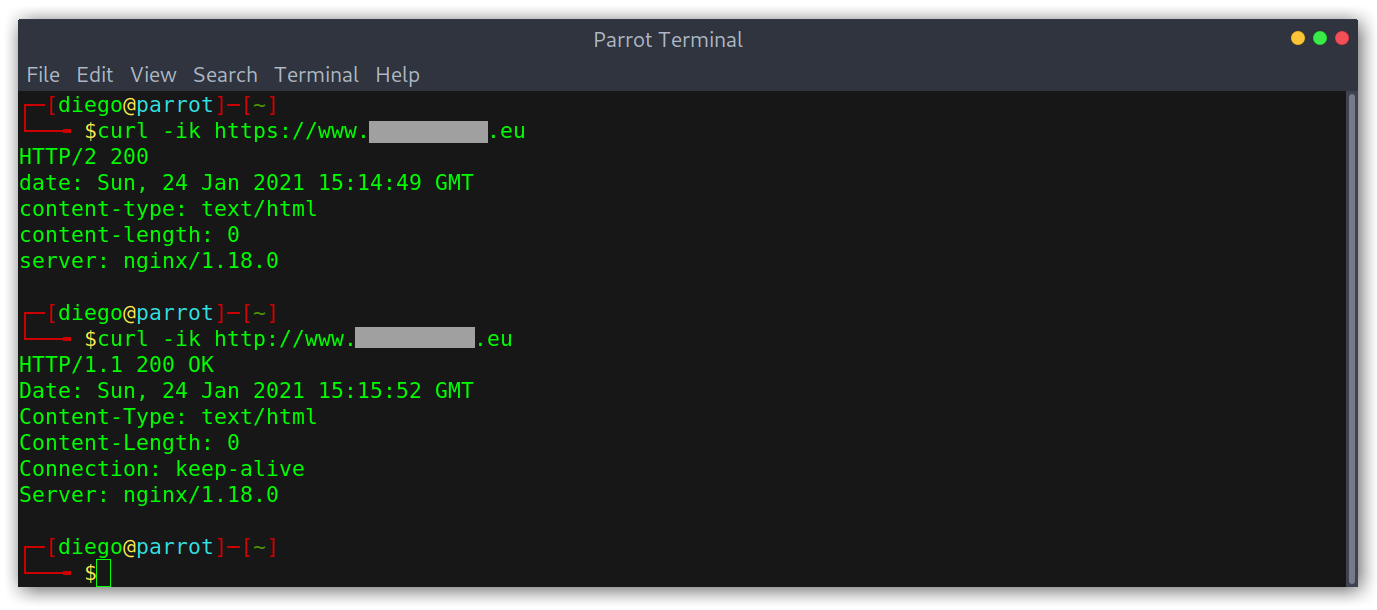
Working PoC for both HTTP and HTTPS
Extra Insights
One interesting thing I learned while figuring out how to get things working was that, as Elastic Beanstalk is based on top of EC2 instances, we can directly SSH into those instances.
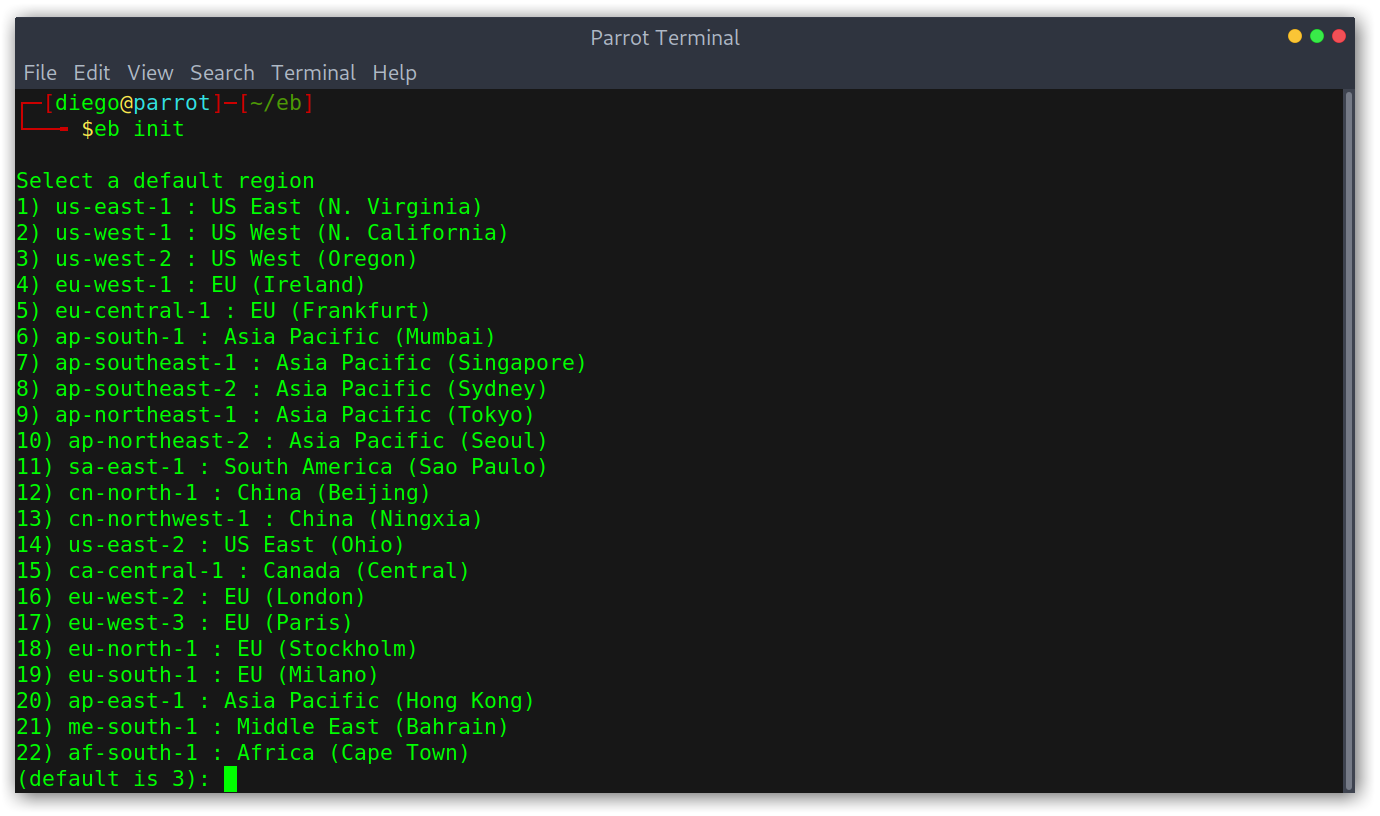
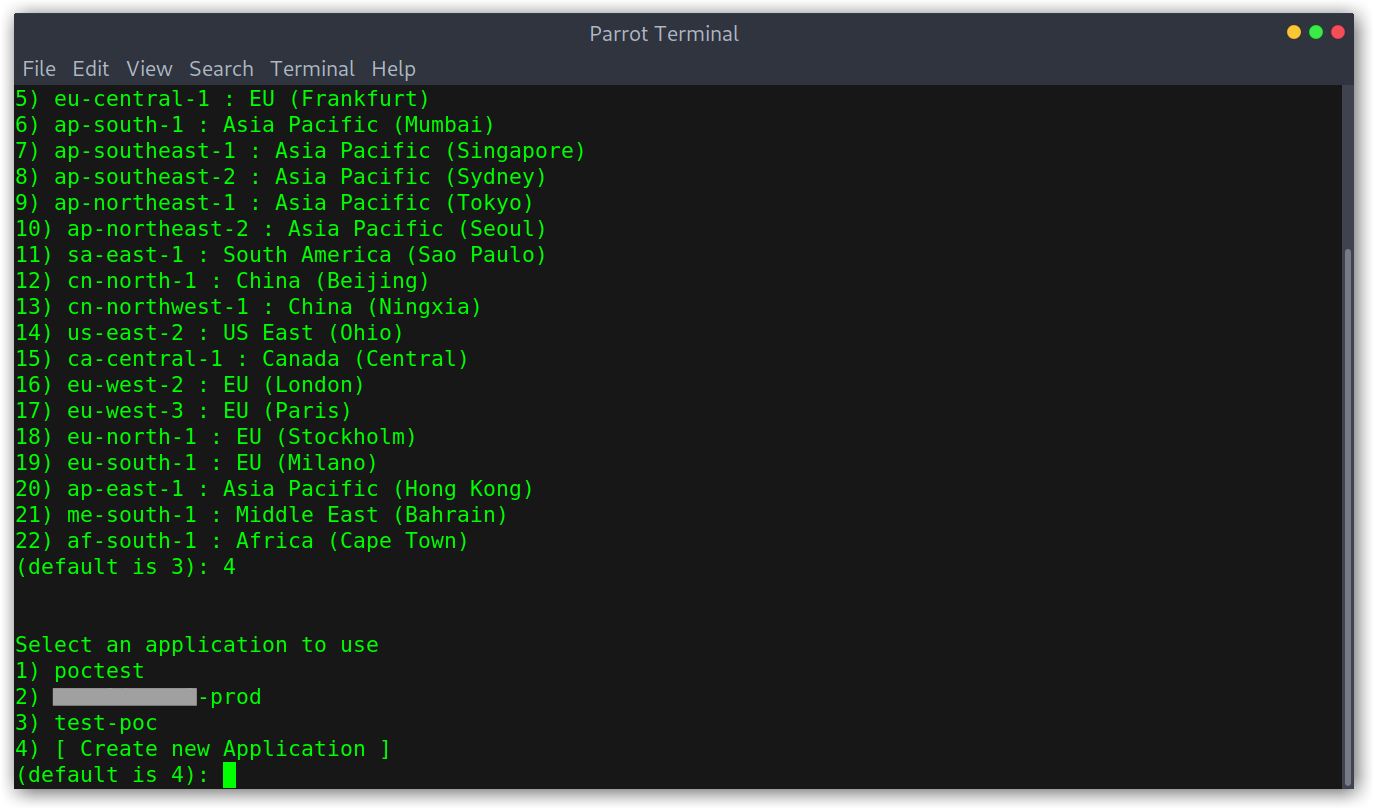
To do this eb is required. We’ll run eb init to select the region and the application.
Initialising eb
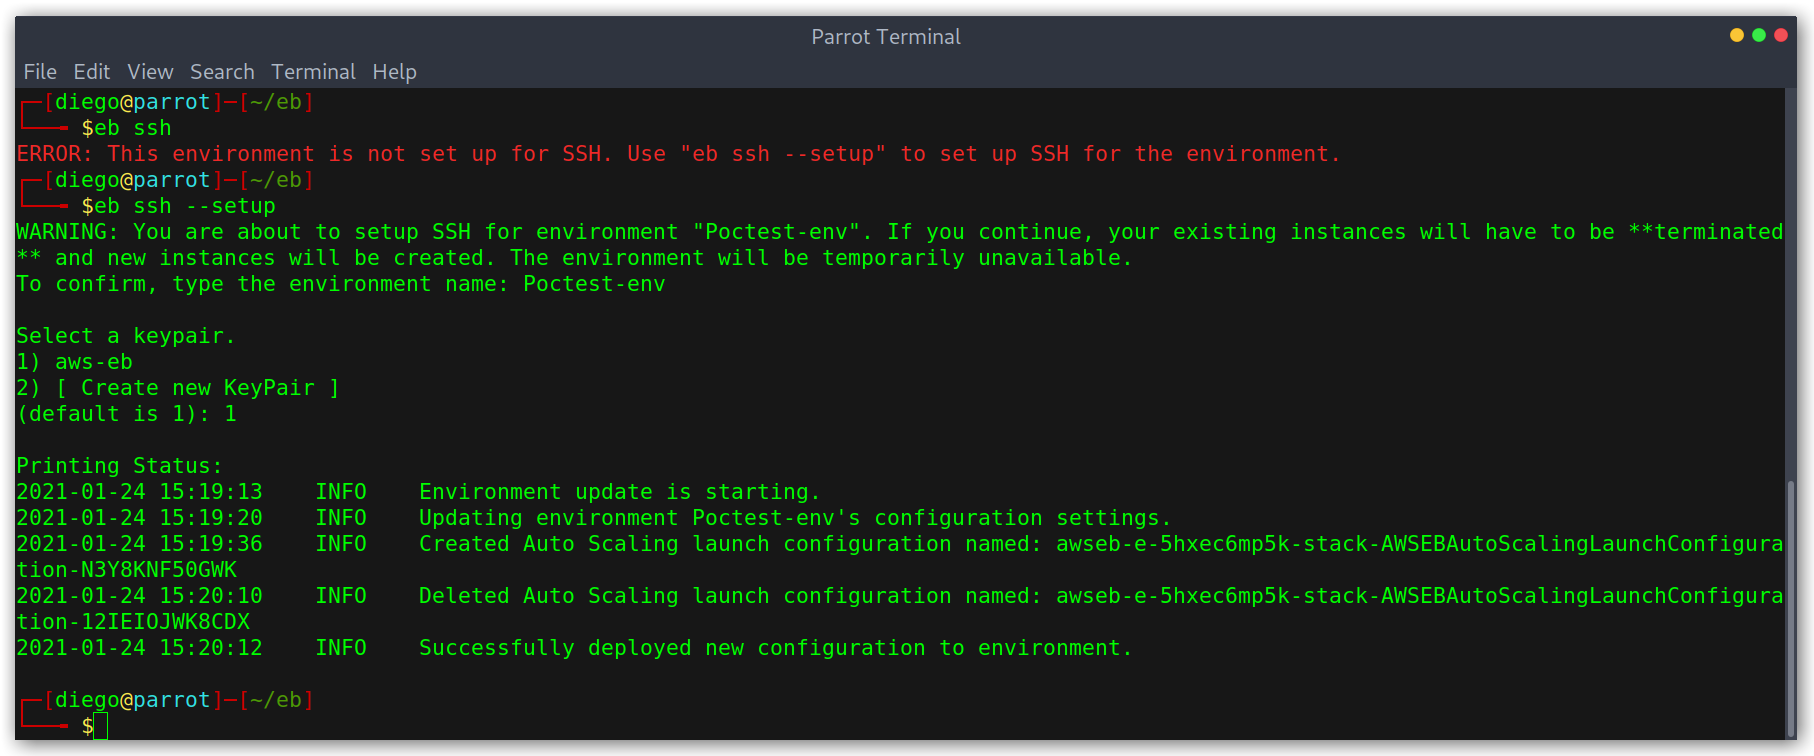
Then, eb ssh --setup will enable SSH for the selected environment. Note that this will destroy all existing instances and create new ones. This shouldn’t be a problem though, since it will deploy again the source code we supplied when we created the application.
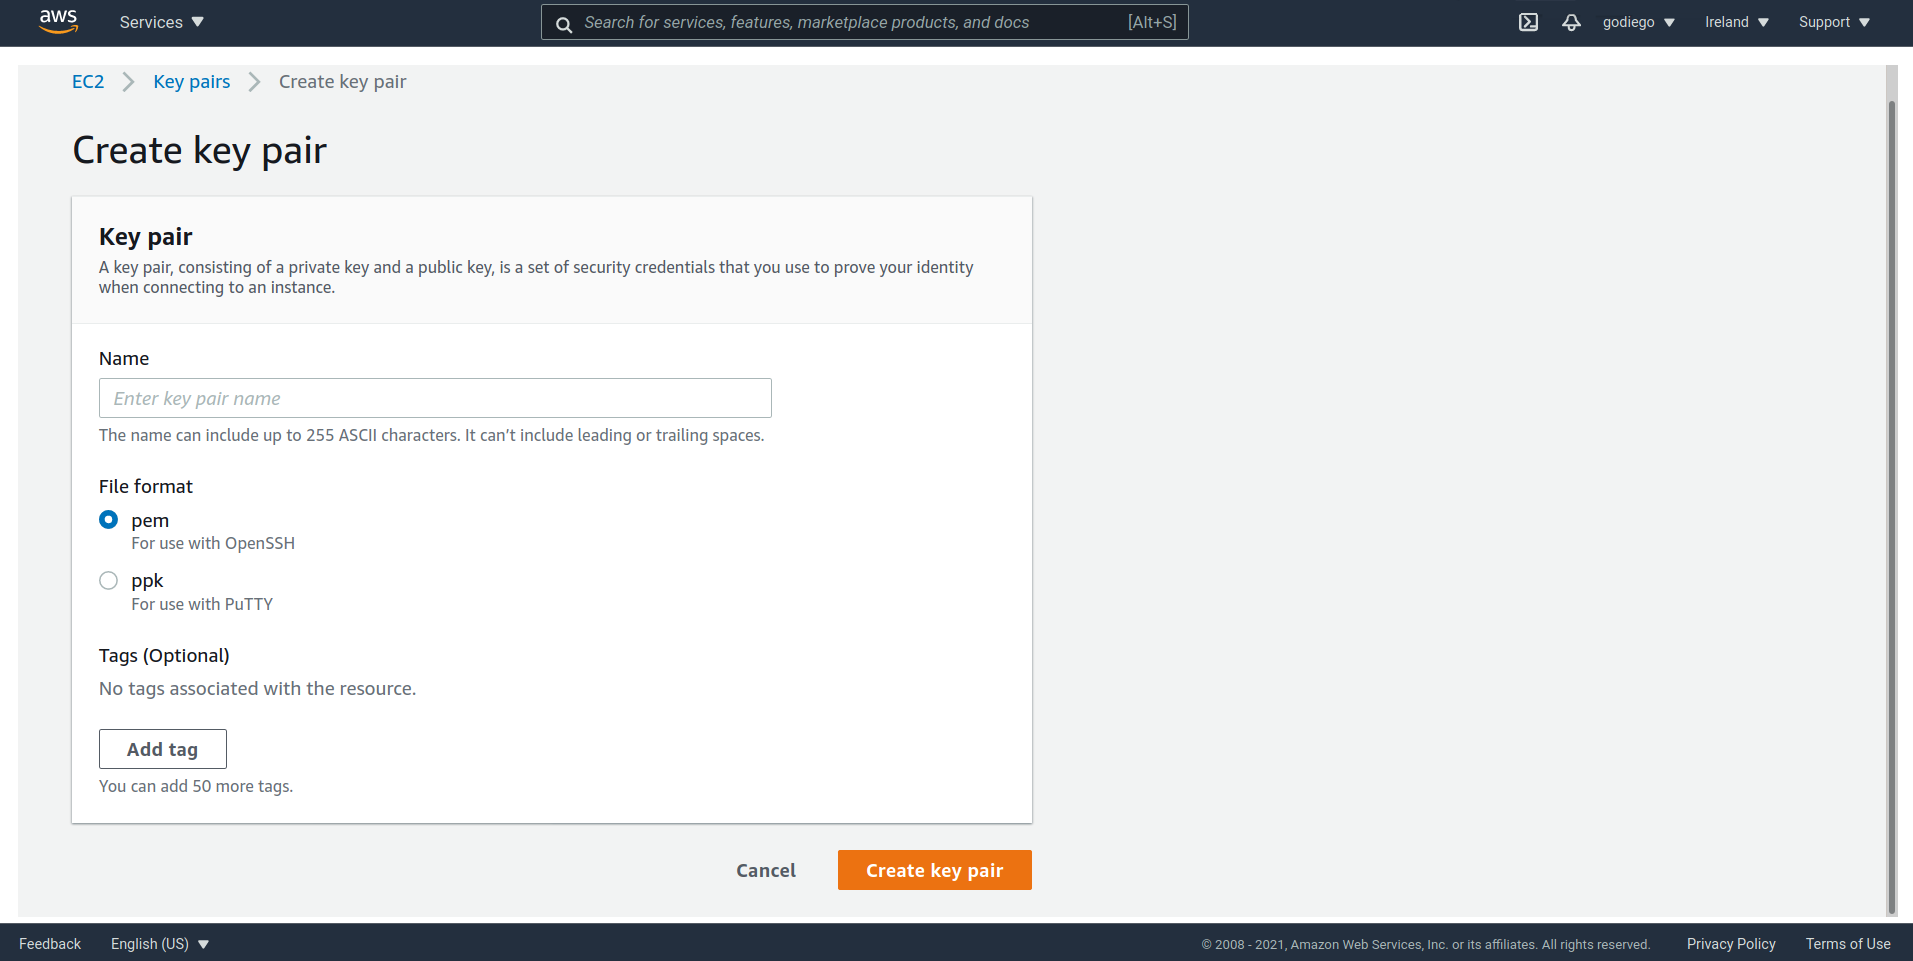
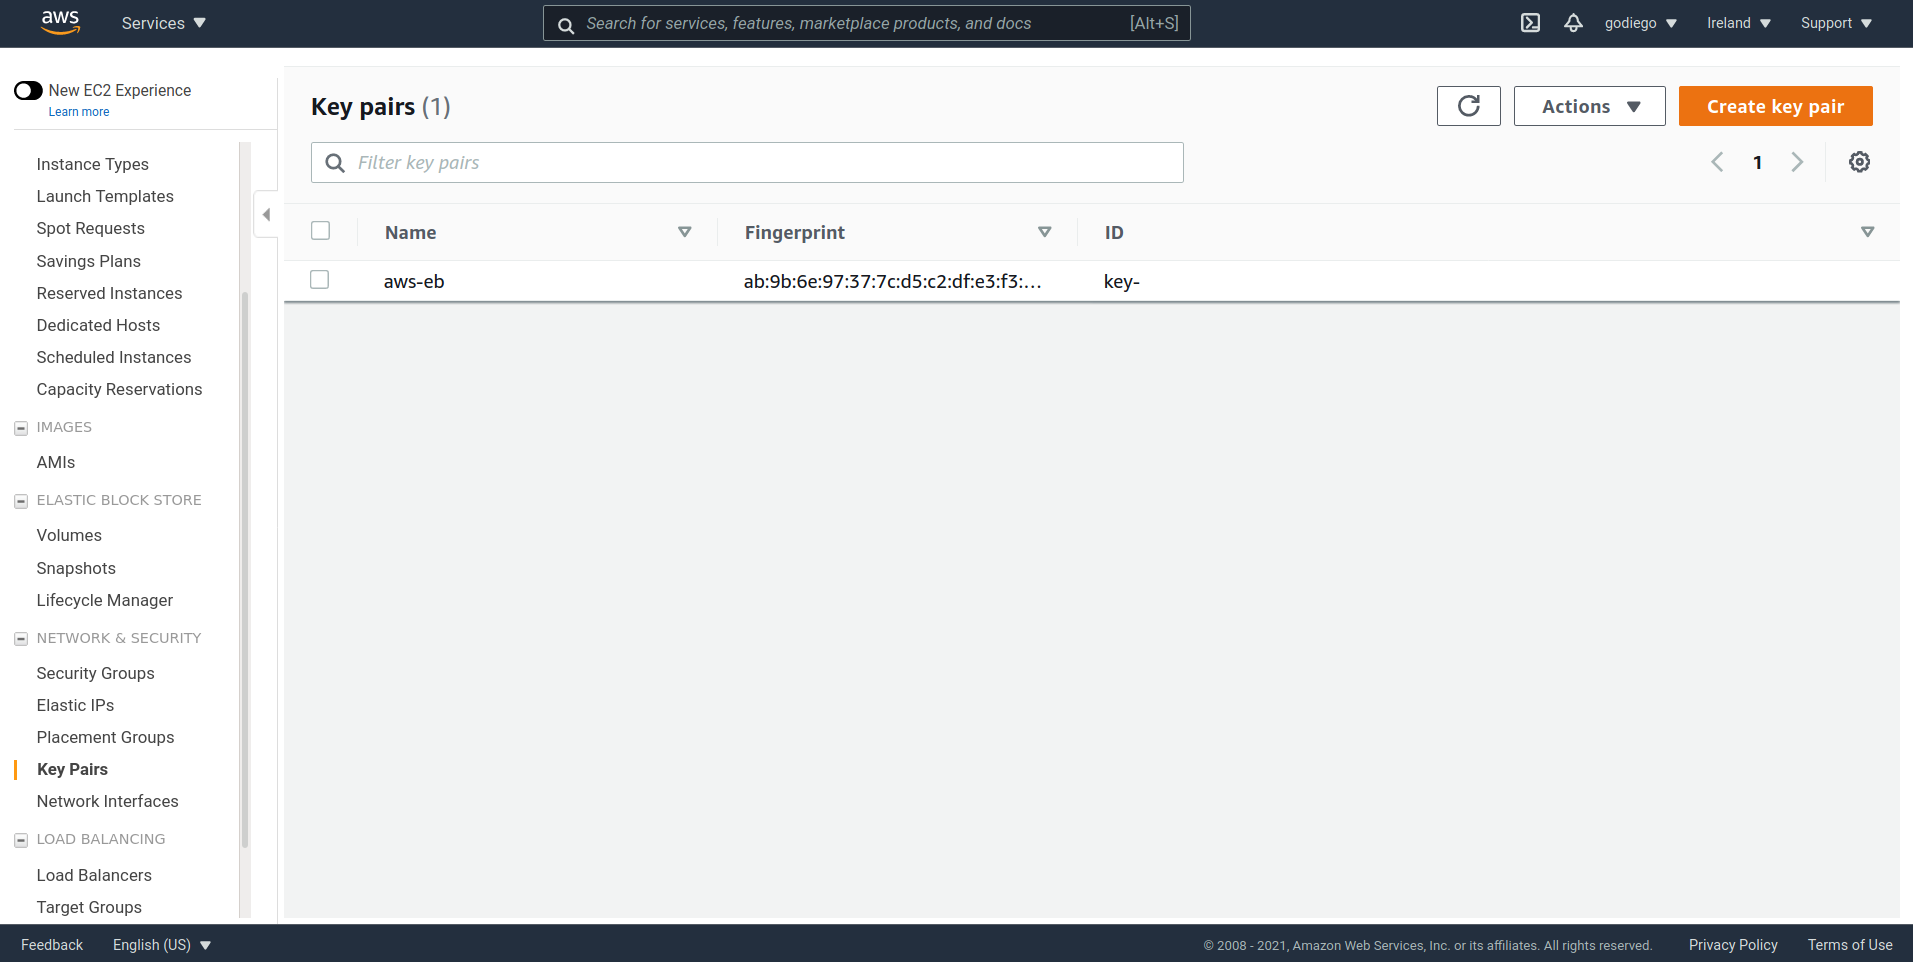
We’ll be asked for an SSH key pair, I already had one but we have the option to create them via the cli. Another option is to add them via the EC2 dashboard.
Setting up SSH for the environment
Key pair creation via EC2 dashboard
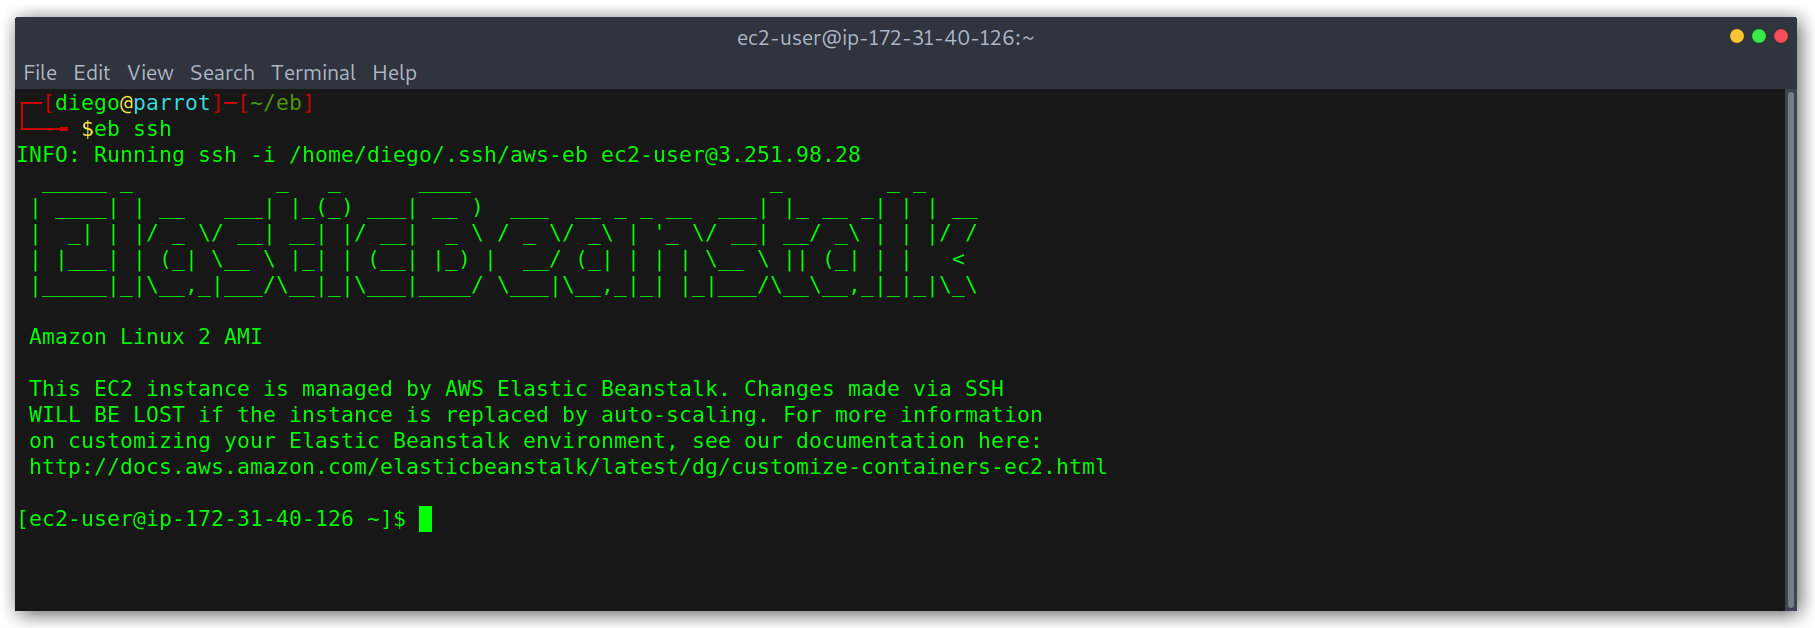
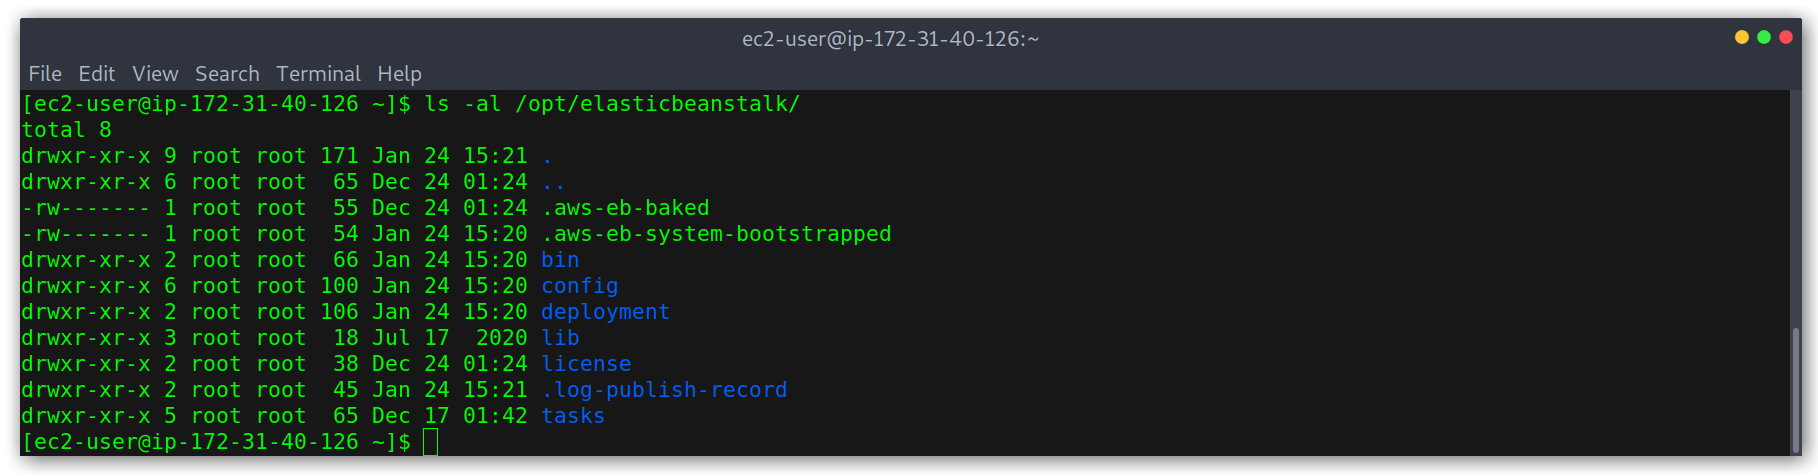
Then we can SSH into the instance and can explore the filesystem and locate the source code we deployed. When I learned about this I remember that at one point I added a listener on a random port and ran a python -m SimpleHTTPServer <port> to make a very very quick PoC.
Accessing the EC2 instance via SSH
AWS Elastic Load Balancer and Others
I added AWS Elastic Load Balancer as an example of takeovers that cannot be done in AWS due to some protections that Amazon has put in place but it’s not the only one, many of their services have this mechanism like Amazon API Gateway. Domains usually have this form:
name-not-random-4312123645.us-east-1.elb.amazonaws.comname-rae2dfm9ra.execute-api.us-east-1.amazonaws.com
As you’ll have noticed, a random string / number is appended to the name given to the service instance. This happens every time, so if I were to register poc-test-aws-api-gateway twice I would get different domains, which makes taking over dangling domains almost impossible.
Takeaways
This is everything! I hope you learned something useful, I tried to include all the little details that made me spend a lot of time trying to figure out how things worked. Hopefully, this article will grow with time and I’ll add new PoCs so stay tuned!